Reading the Similars results
The Similars results are a grid, not a list: groups stacked down the page, each one showing its photos side by side at whatever size you choose.
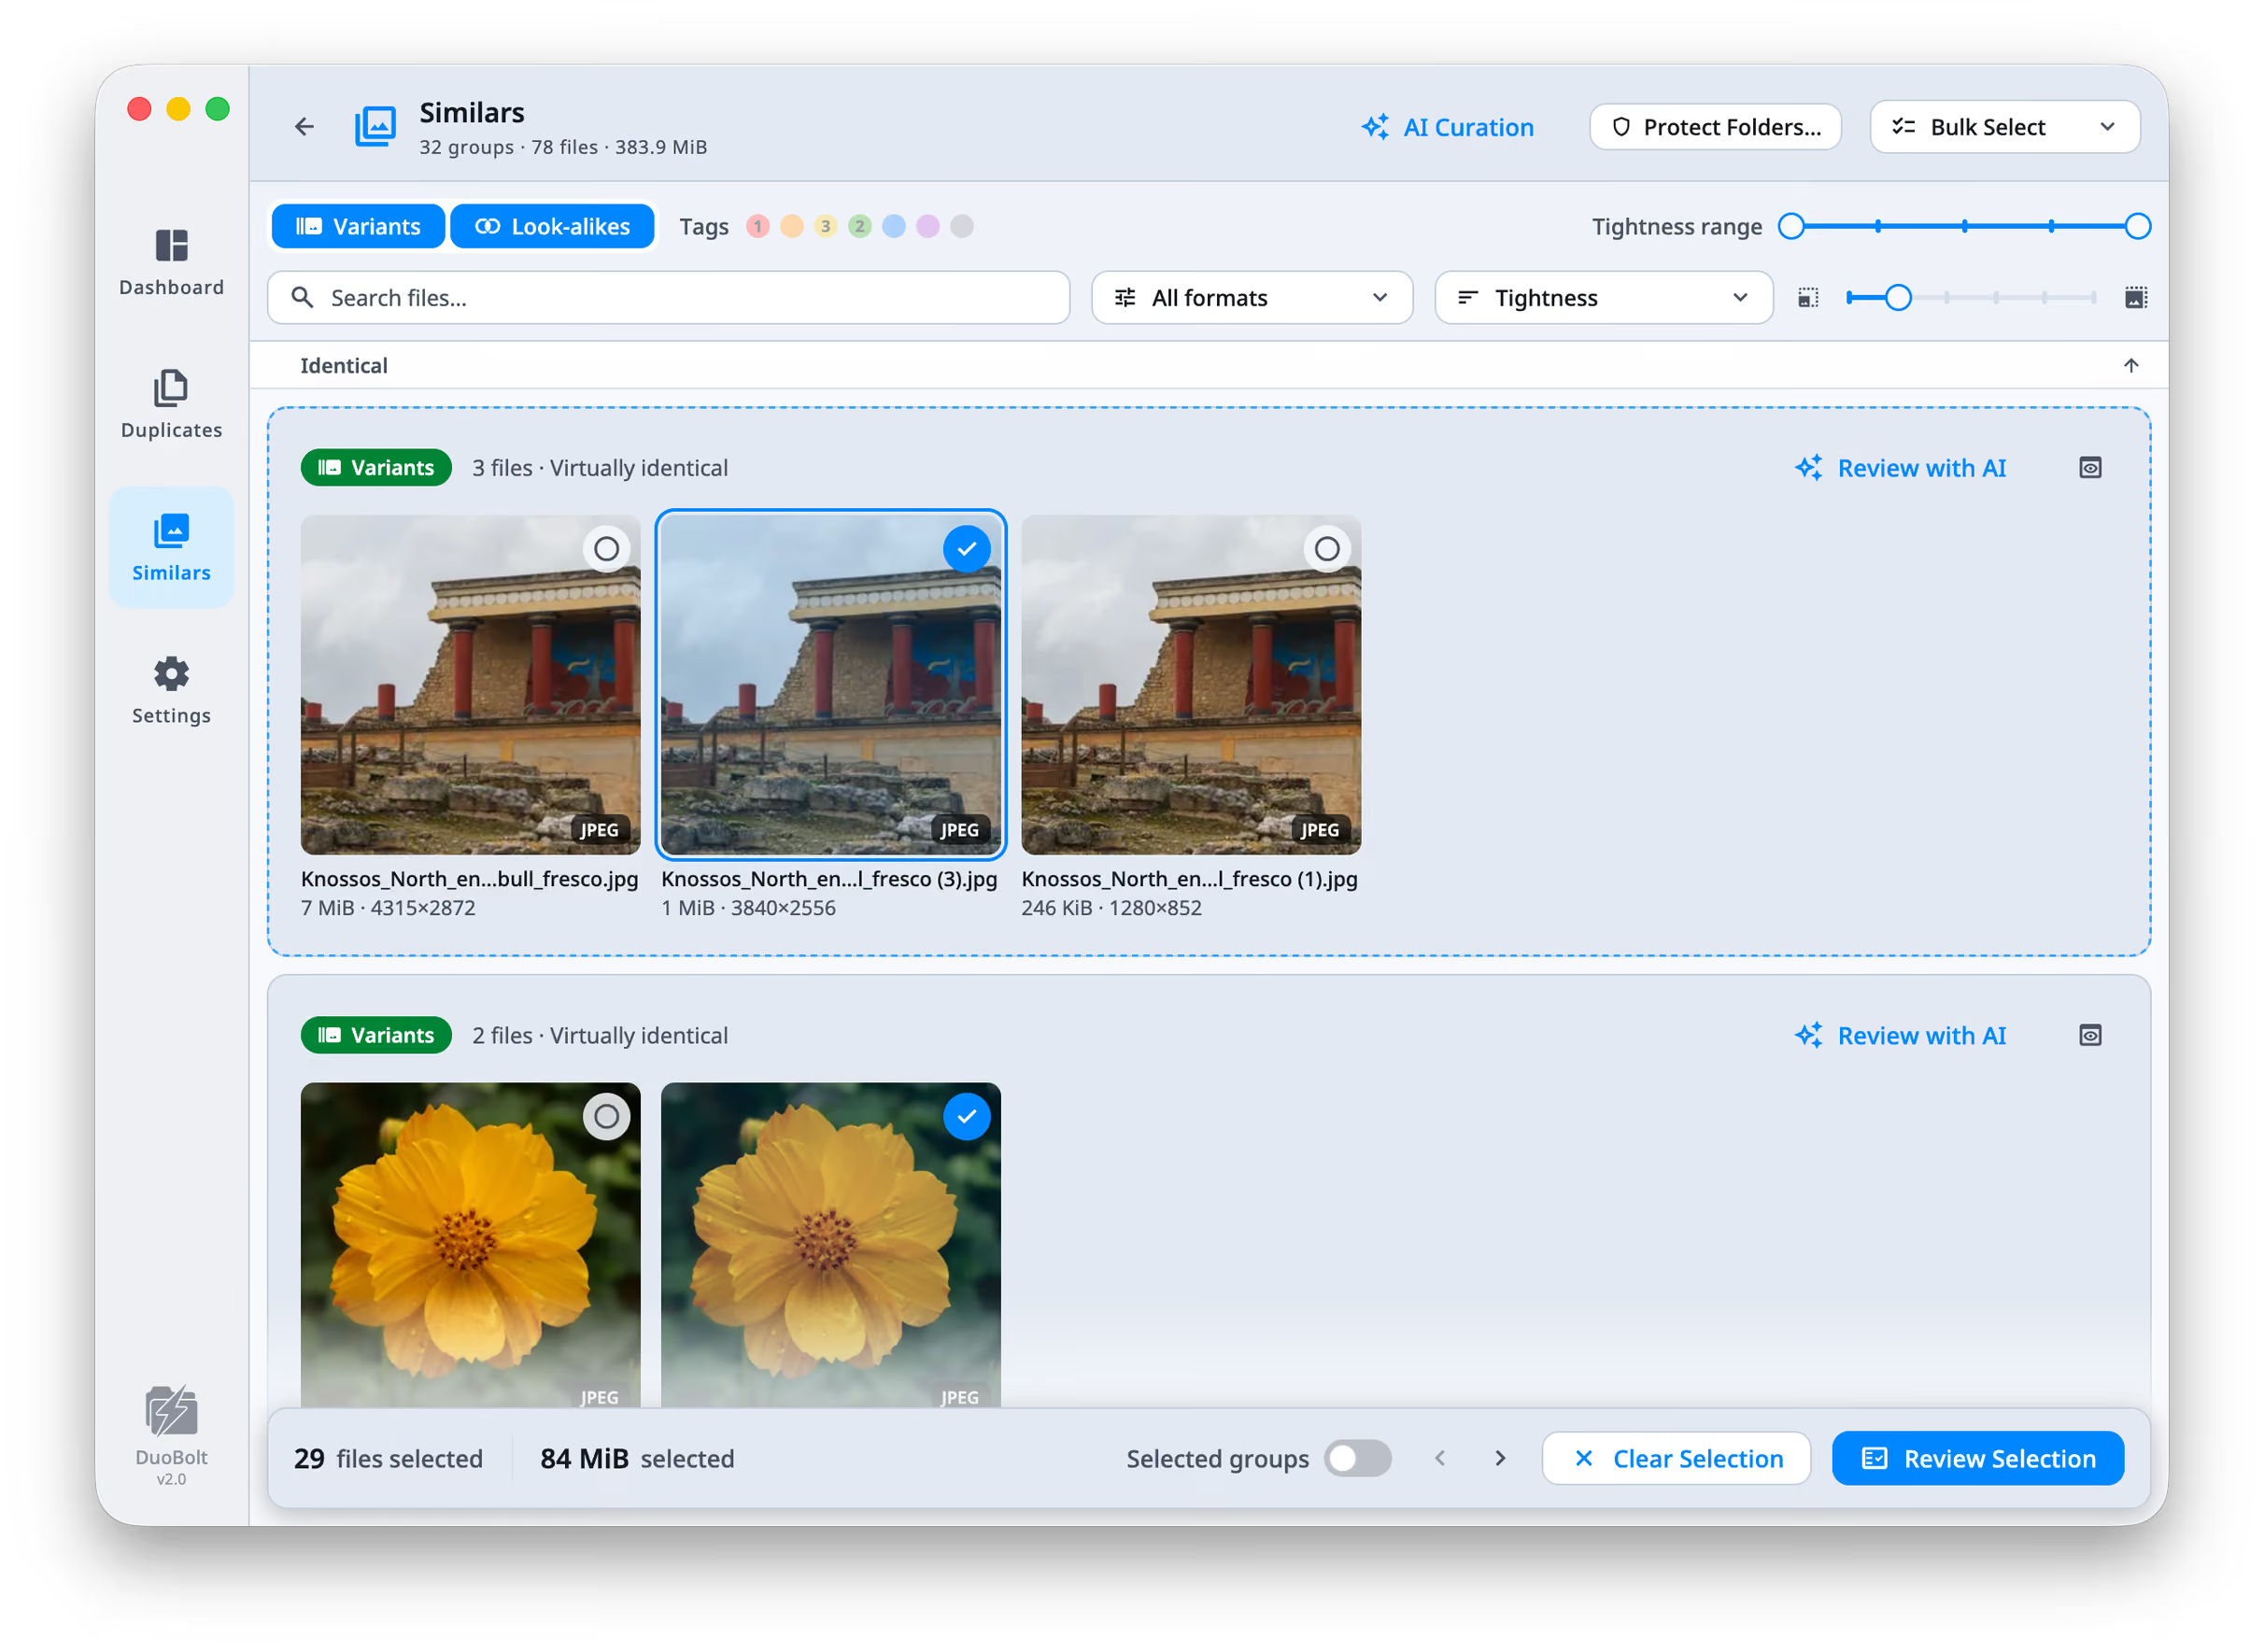
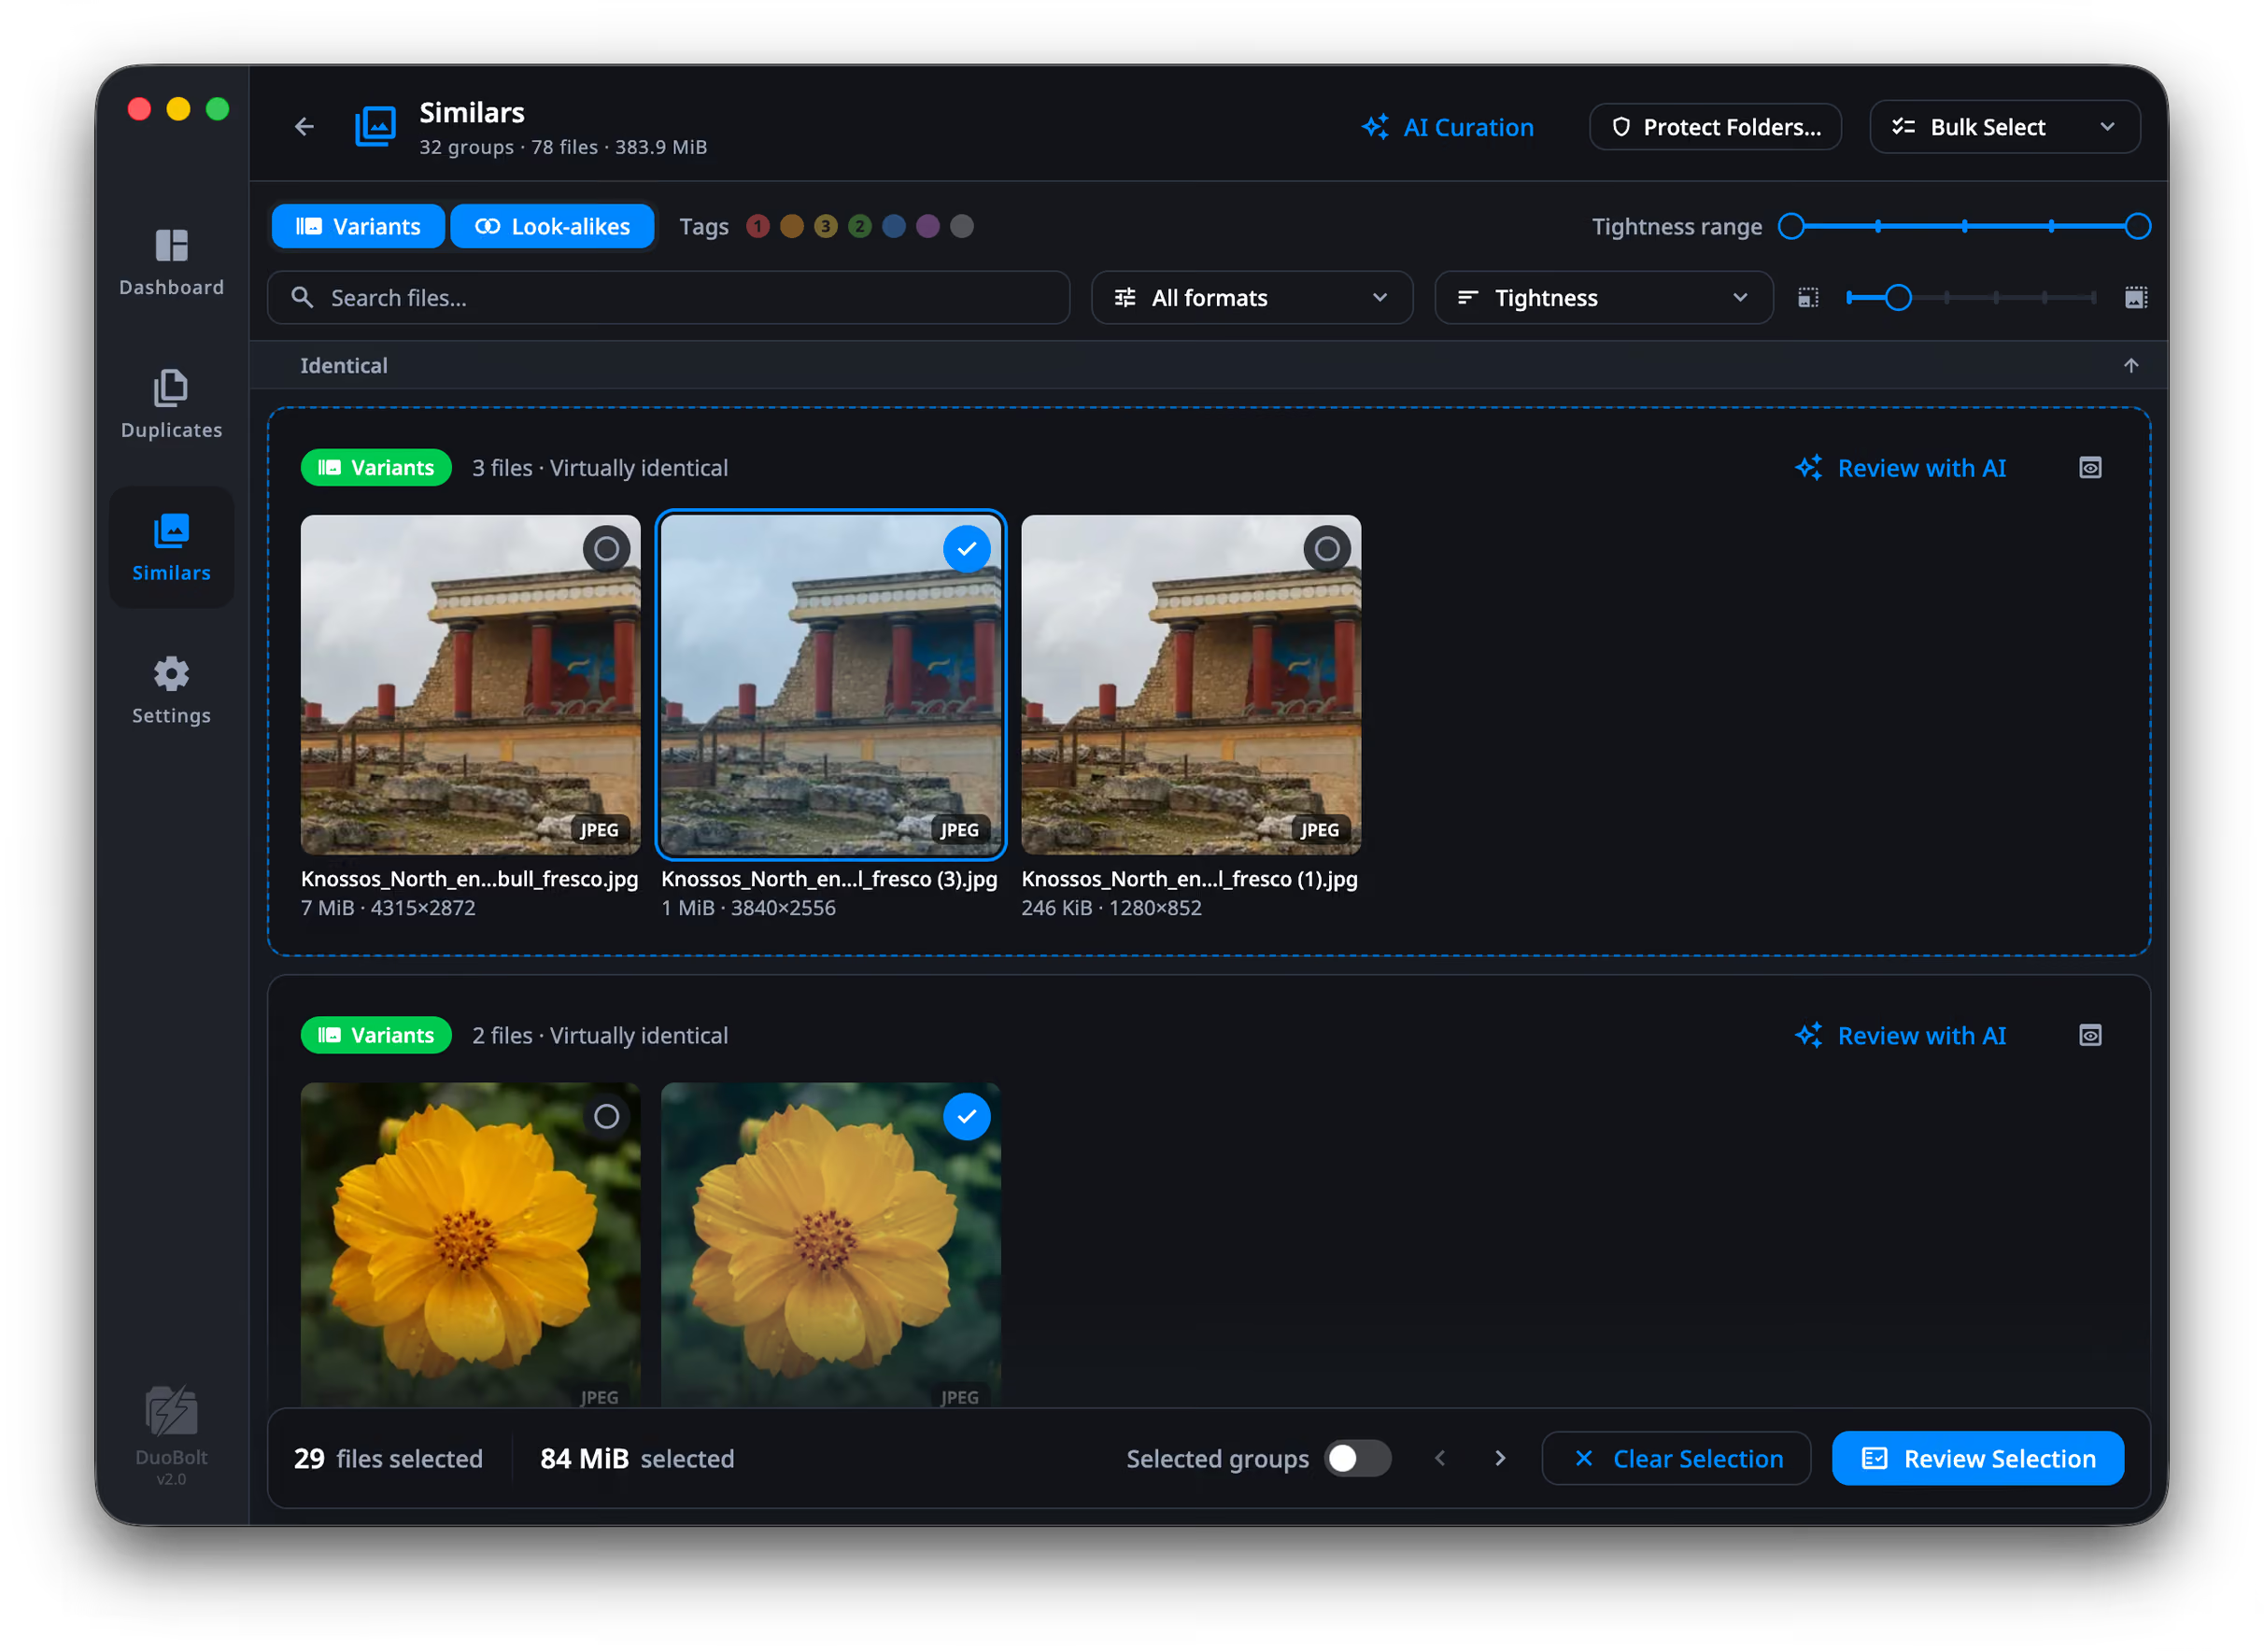
The header states the scan: 32 groups · 78 files · 383.9 MiB.
The filters
Section titled “The filters”Variants / Look-alikes — a segmented control at the top left. Both are on by default. Turn one off to work through the other; ⌘-click — Ctrl-click on Windows — one to isolate it. It can never end up with neither selected.
Search files… narrows the grid by name.
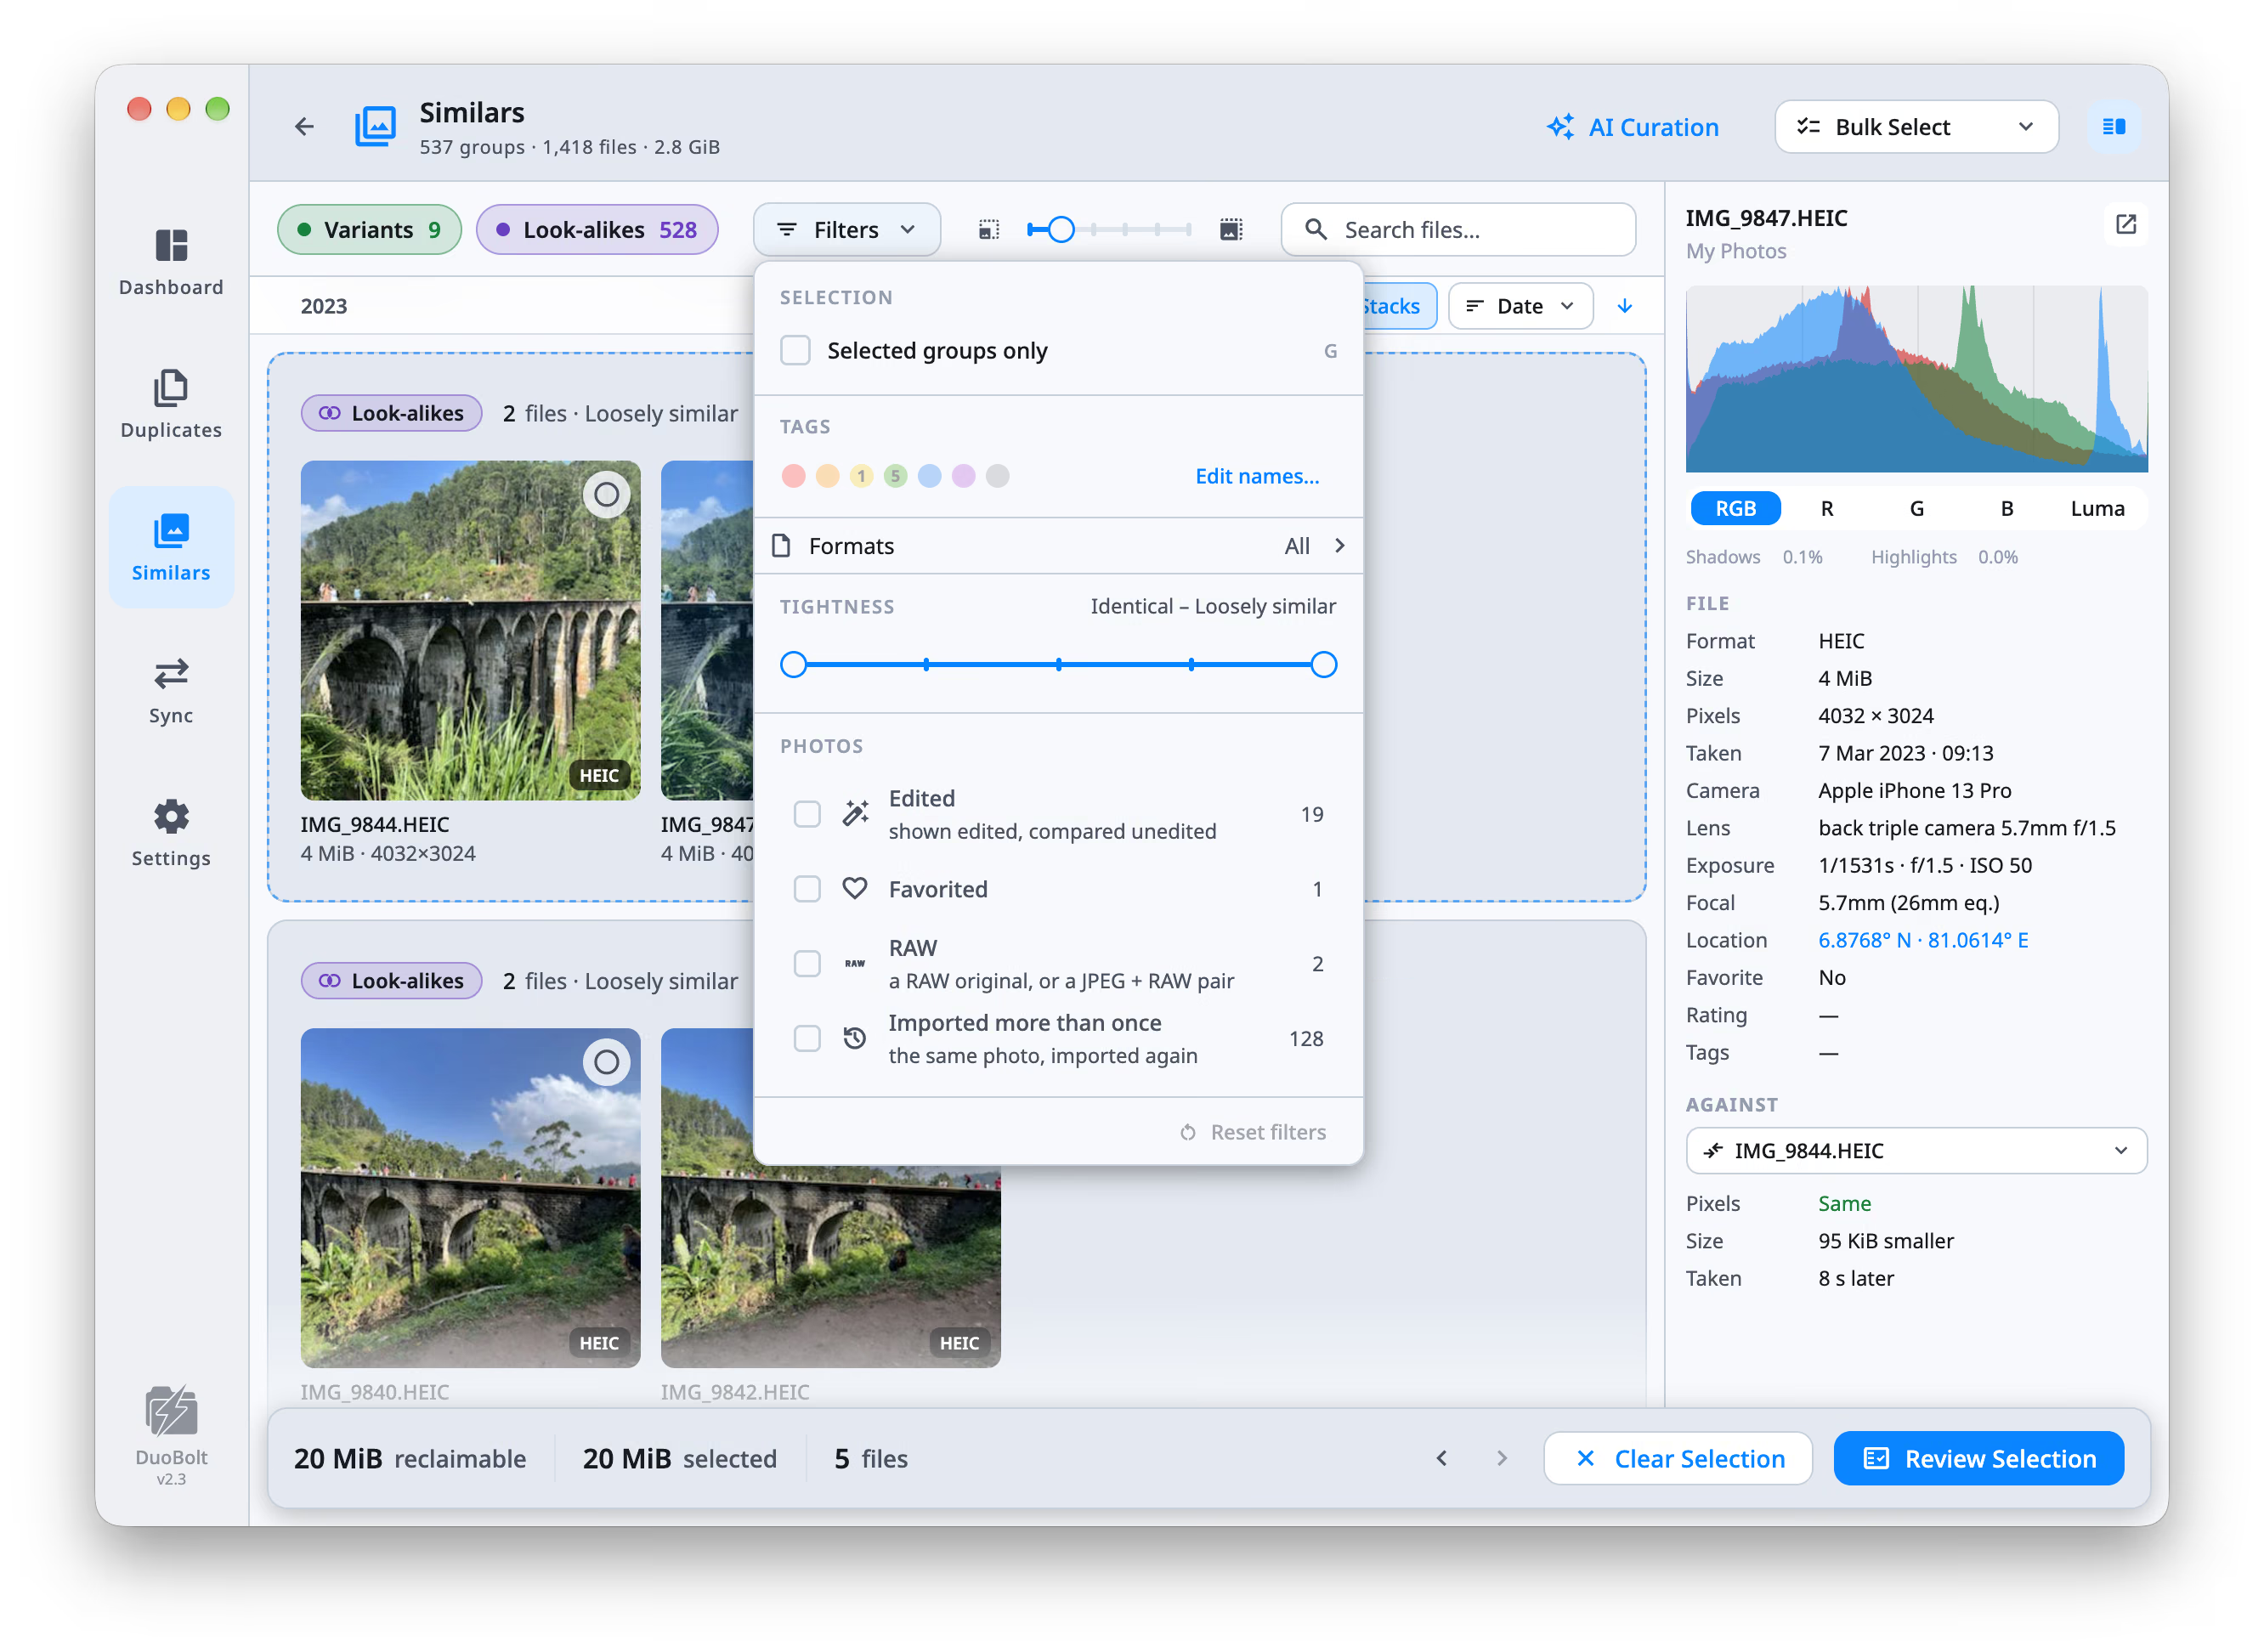
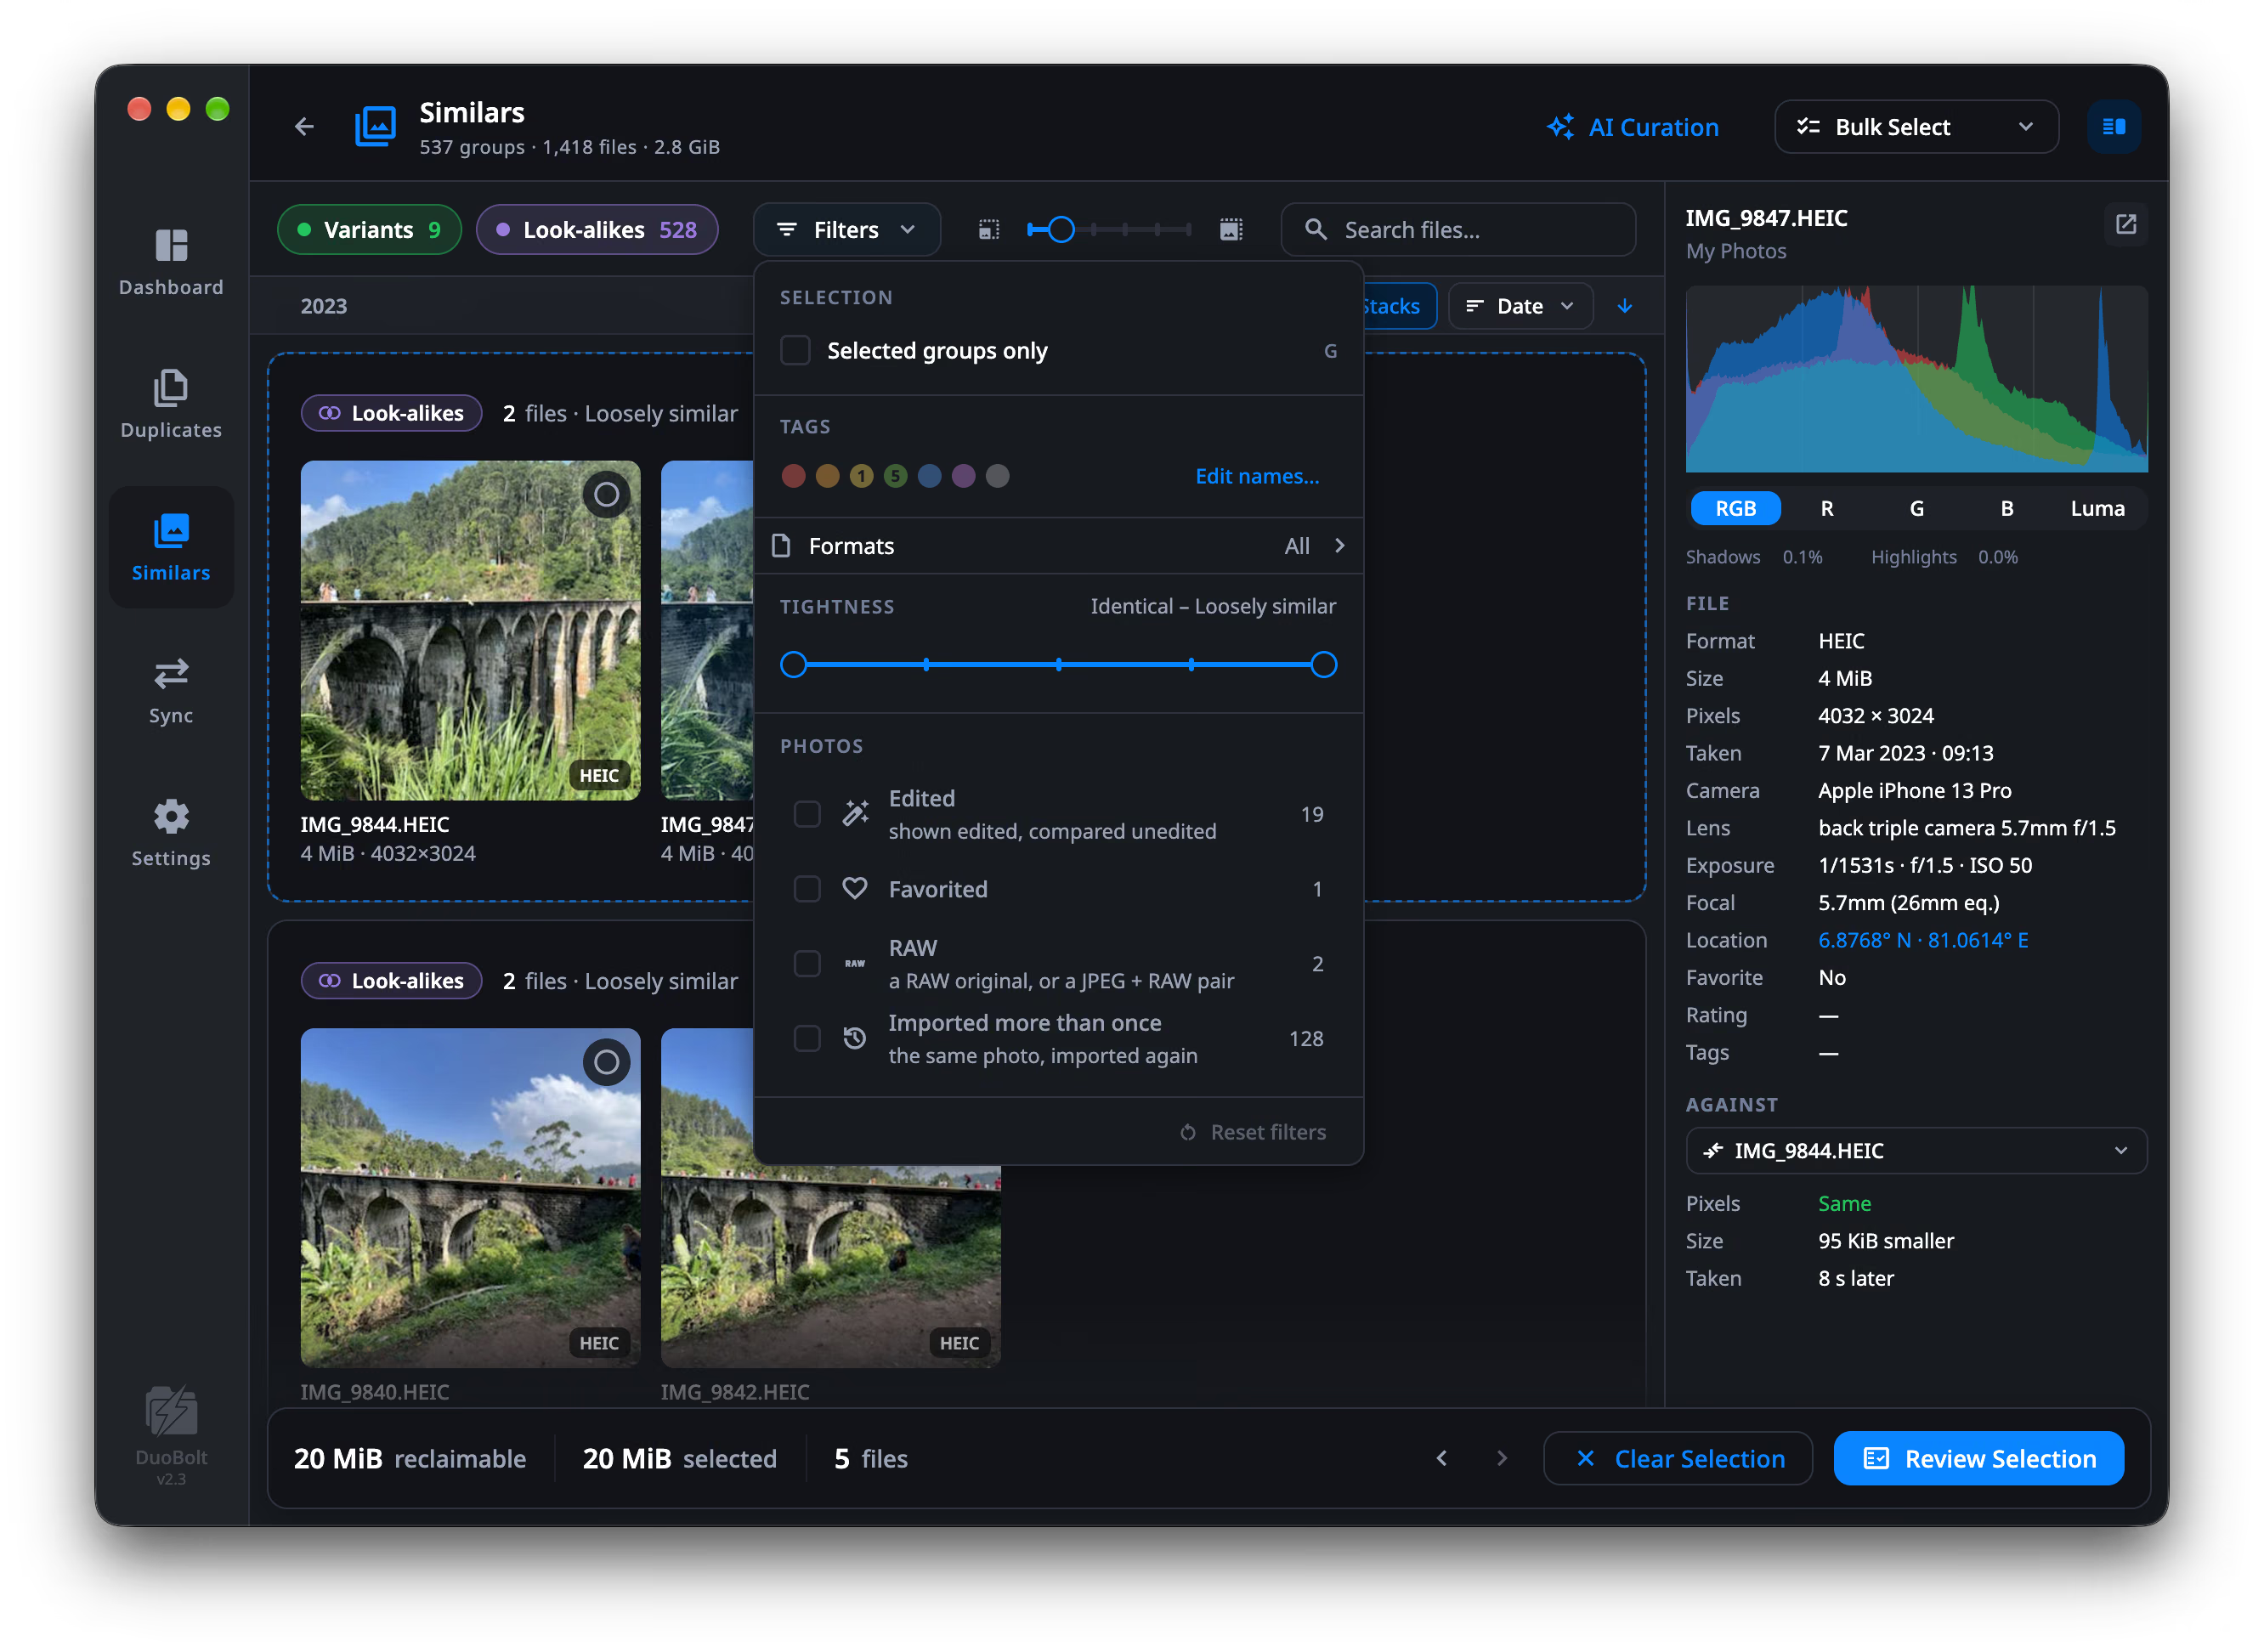
Everything else is in the Filters popover, whose button counts how many are on:
- Selection — Selected groups only (G) hides every group you have not marked anything in.
- Tags — the seven colors, renamed with Edit names….
- Formats — a page listing what the scan actually found, with each format’s share, rather than every format DuoBolt could read. A group stays when any file in it is of a format you kept, so a HEIC and the JPEG it was exported to stay together under HEIC alone.
- Tightness — a two-handled range across the five bands, from Identical to Loosely similar. Both ends open by default, so nothing is hidden until you move it.
- Photos — on a library scan only. A checklist of what Photos knows about a photo: Edited, Favorited, RAW, Imported more than once. A group stays when any photo in it has any fact you turned on, and each row states how many groups it would keep over what the other filters leave.
Reset filters, at the foot of the popover, turns them all off.
Sorting, and the buckets it creates
Section titled “Sorting, and the buckets it creates”The Sort menu changes the order and the sticky headers you scroll past:
| Sort | Buckets |
|---|---|
| Tightness | Identical · Virtually identical · Very similar · Similar · Loosely similar |
| Files in group | 100 files and up · 50 to 100 · 25 to 50 · 10 to 25 · Up to 10 |
| Date | By the year the photo was taken (its file date where it has no EXIF) |
| Tags | By tag, then No Tags |
| Recommendation | Copies to remove · Needs your eye · Not analyzed yet · All distinct |
The last one only makes sense once AI Curation has run — it is sorting by what the analysis concluded.
Tile size
Section titled “Tile size”The slider between the two image icons changes how large the photos are drawn. Small tiles show a whole burst at once; large tiles are big enough to judge a face.
Stacks
Section titled “Stacks”Copies with the same bytes inside a group show as one stacked tile, with a count in its corner, and the group header says how many are hidden — 1 copy hidden. A stack is only built on proof: files that merely look the same stay side by side.
Expand, or Space on the stack, opens it; Esc folds it again. Collapse all and Expand all in the group header do every stack in the group at once. A group that is nothing but identical copies opens by default, since folding it would hide the whole group behind one tile. Stacks, beside the sort menu, turns stacking off for the whole grid.
Selecting a stack selects the copies it stands for.
Selecting
Section titled “Selecting”Four ways, and none of them require hitting checkboxes one at a time.
Drag a rectangle
Section titled “Drag a rectangle”Click on empty space and drag. The rectangle selects everything it touches, including across group boundaries — which is the fast way to take the tail of one group and the head of the next.
Hold Shift to add to what is already selected, or ⌘ — Ctrl on Windows — to toggle. The hint pills at the corner of the drag say which mode you are in: Replace, ⇧ Add, ⌘ Toggle, and they name the keys of the platform you are on.
The keyboard
Section titled “The keyboard”Arrow keys move a focus ring around the grid. Return selects or deselects the photo under it, and Space opens it in Preview. You can work an entire scan without the mouse.
Per-group rules
Section titled “Per-group rules”Right-click a group for a keep rule. Each looks at that group alone, keeps every photo that satisfies it, and selects the rest:
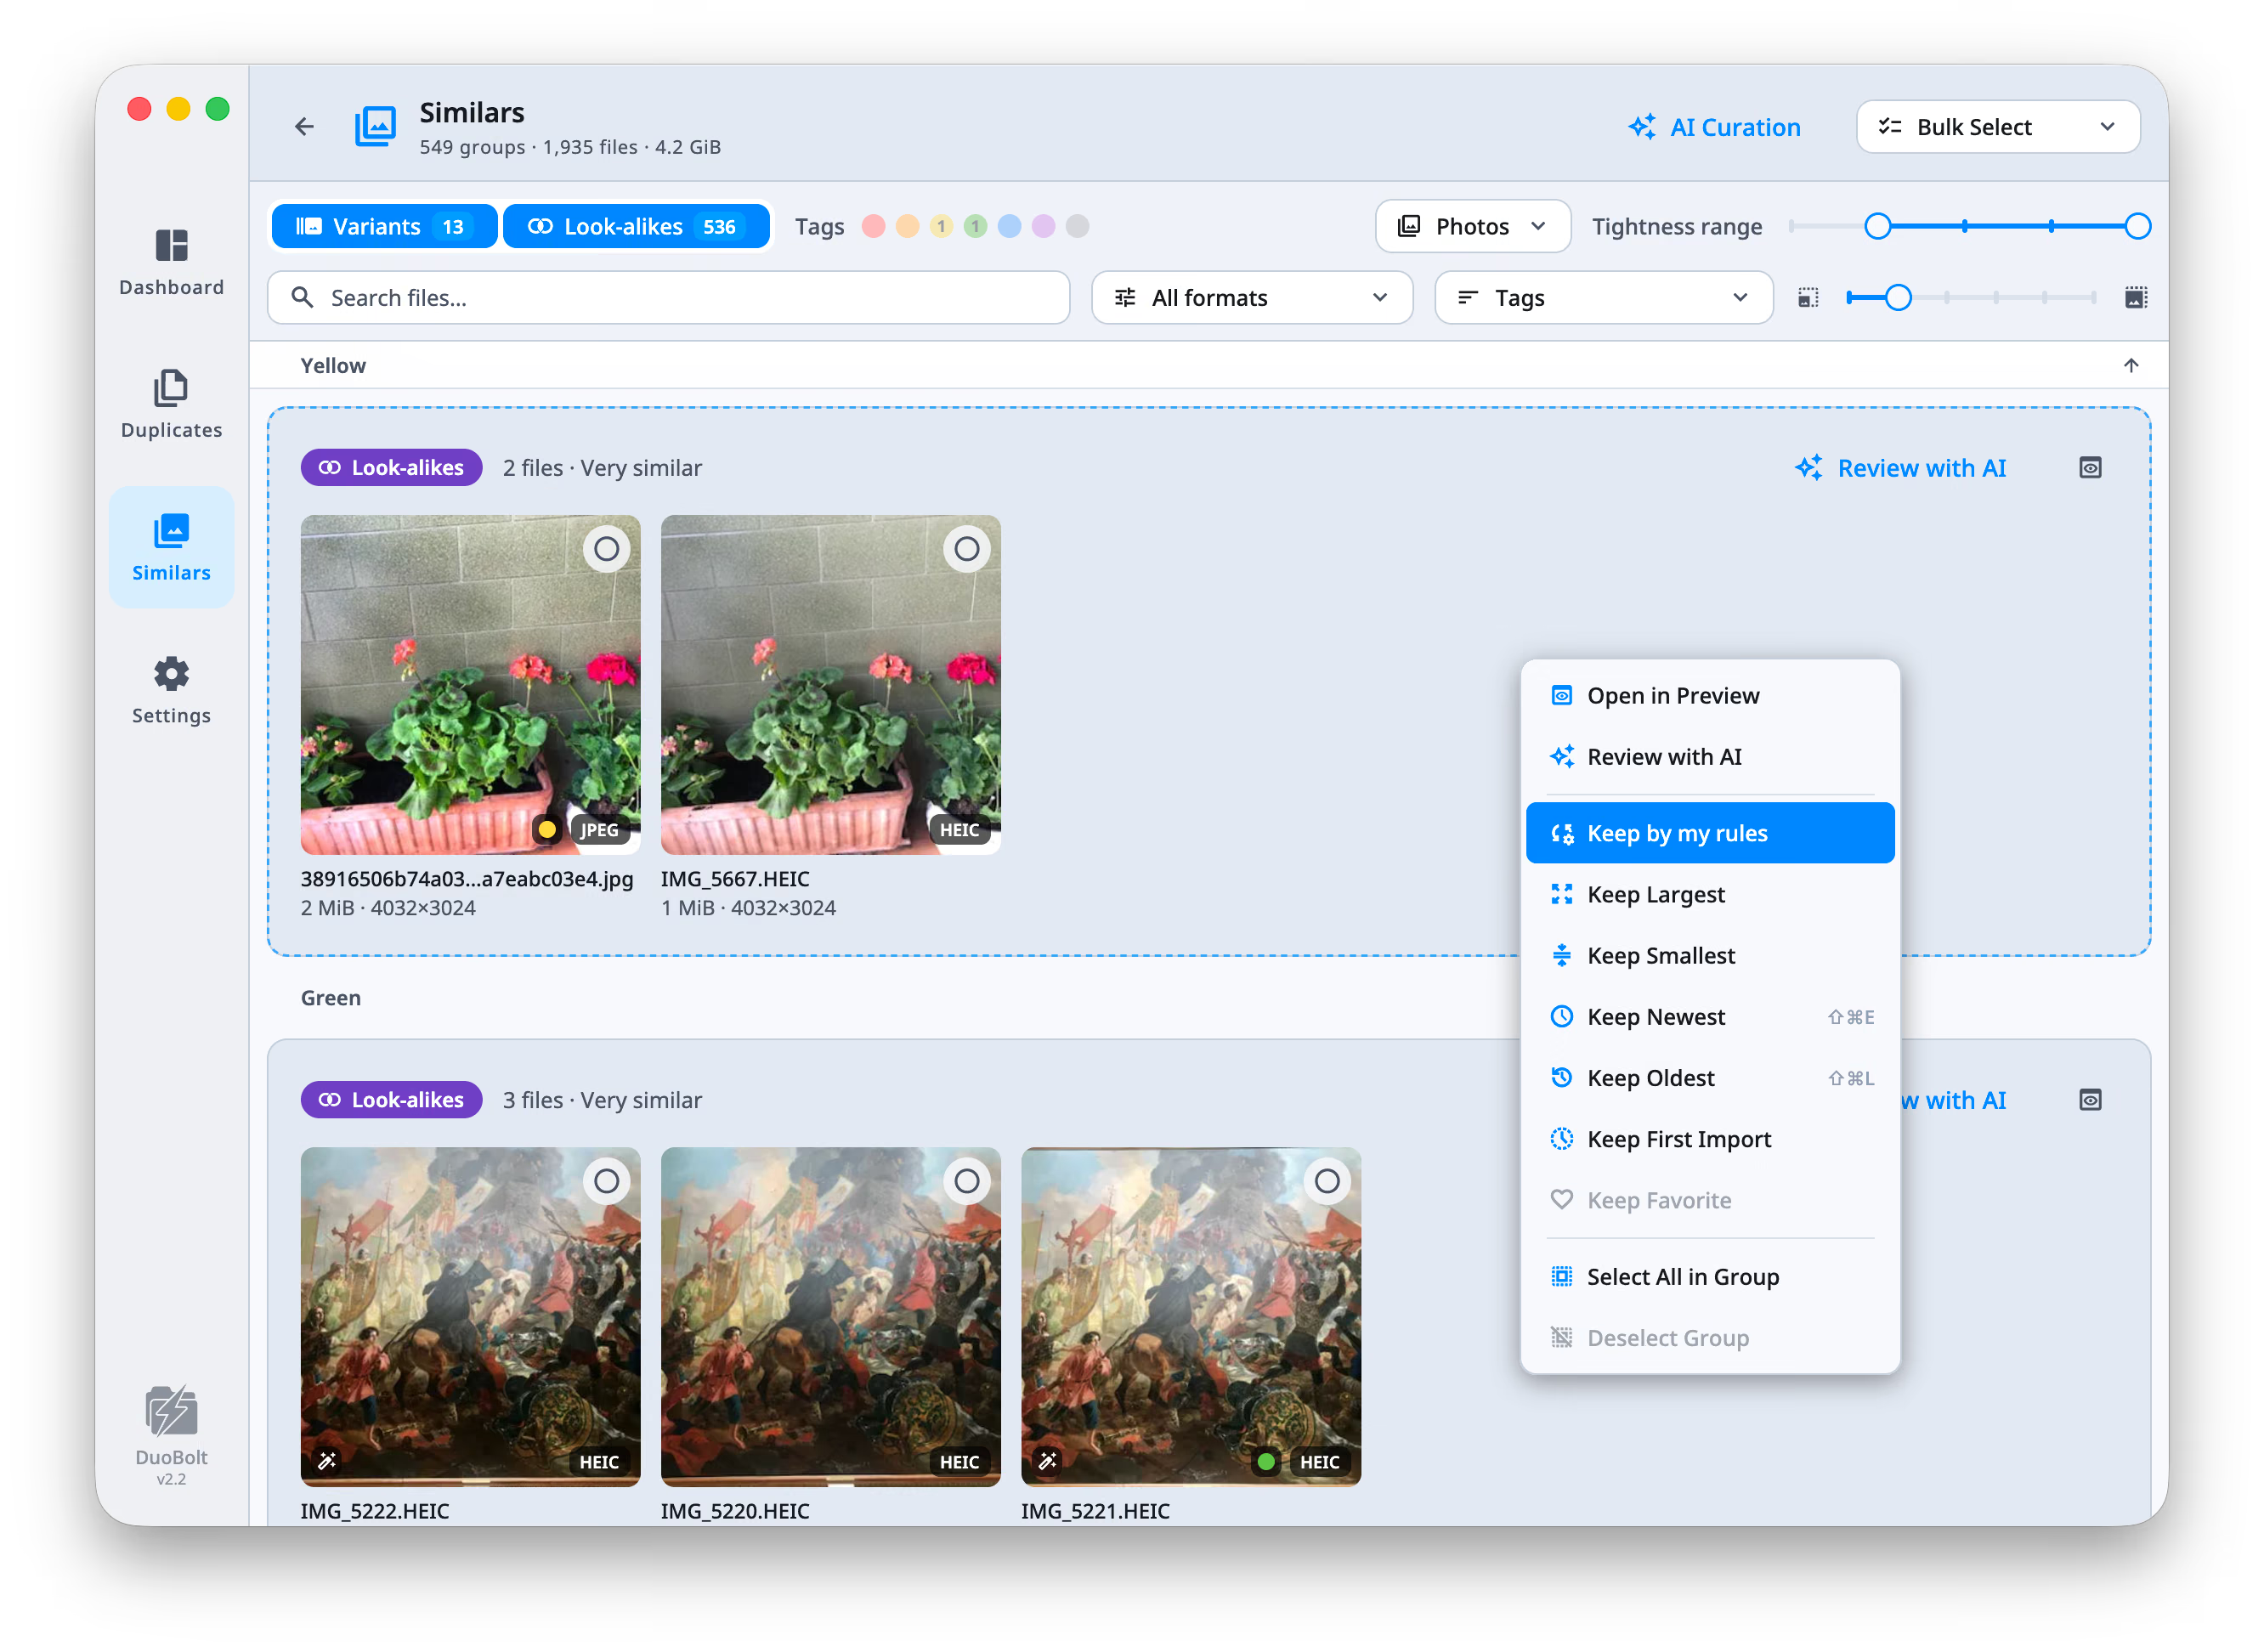
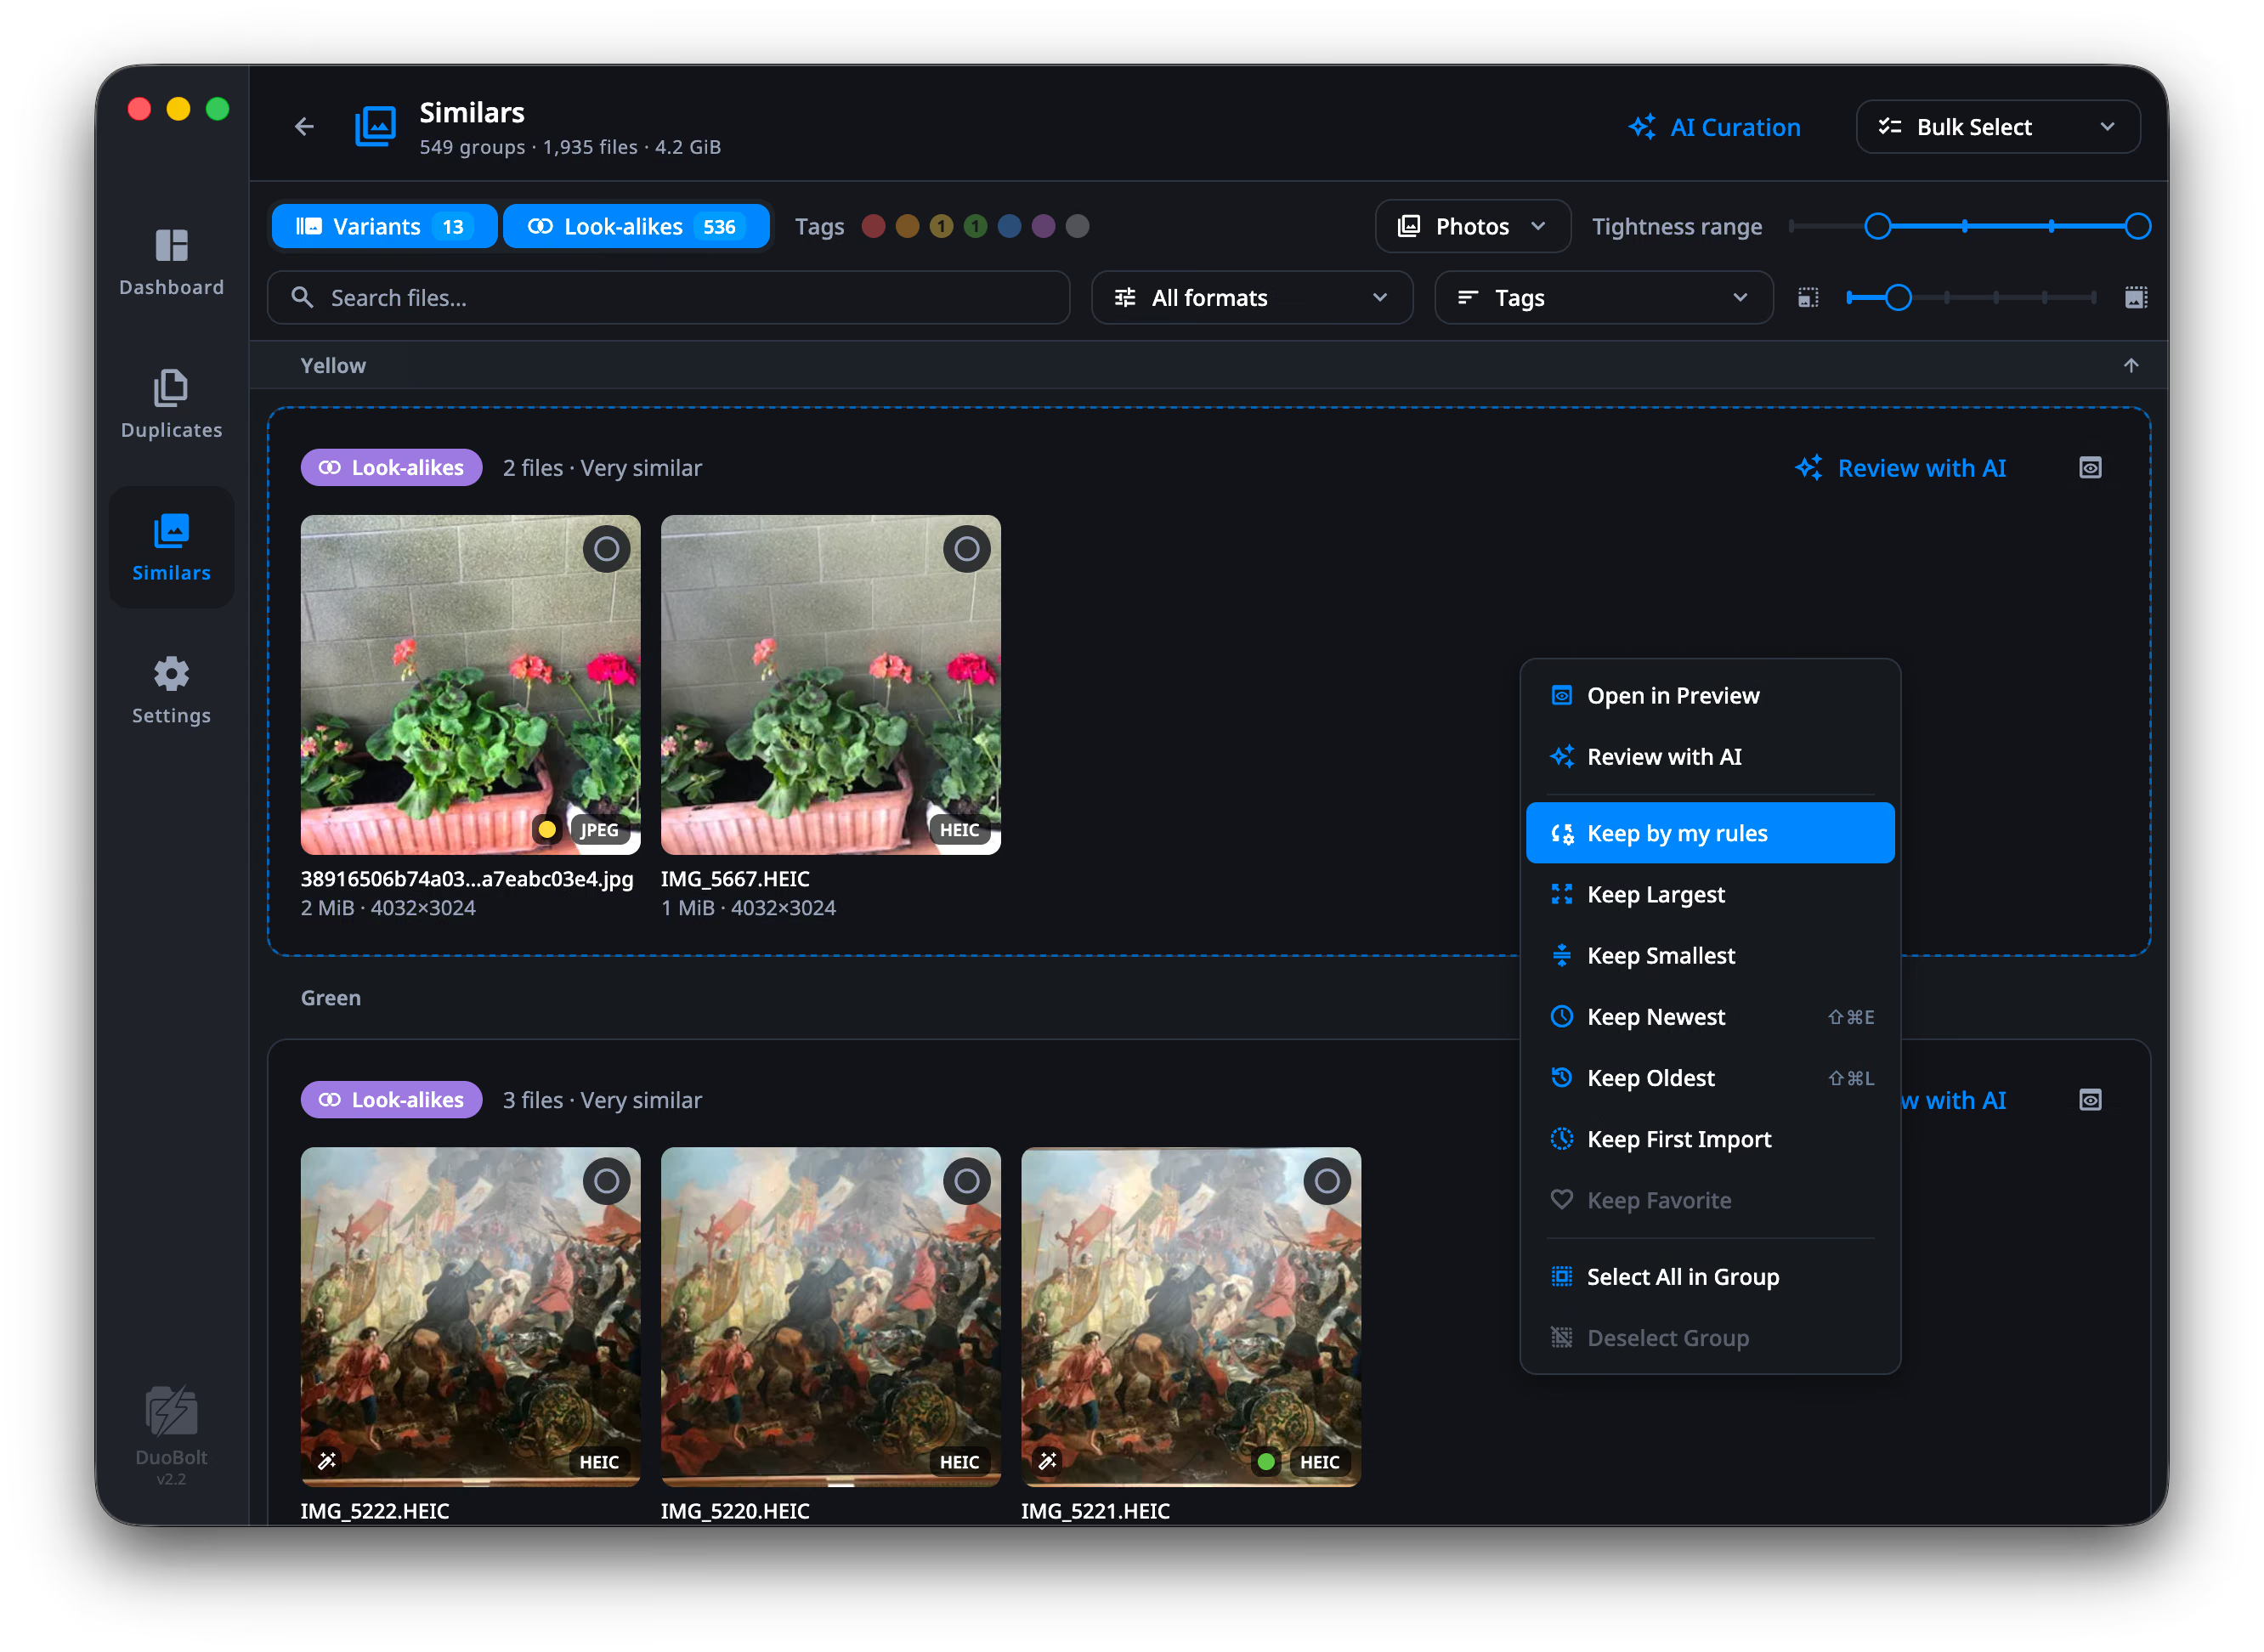
- Keep Largest — the file with the most bytes; usually the least compressed copy.
- Keep Smallest — the file with the fewest bytes.
- Keep Newest — the photo taken last, by its EXIF capture date. A file without one counts by its modification date.
- Keep Oldest — the photo taken first, the same way. In a Photos library this is the shot, not the day you imported it.
- Keep First Import (Photos library) — every copy from the earliest import of that photo; the ones imported again later are selected.
- Keep Favorite (Photos library) — the copies you marked as favorites in Photos; the rest are selected.
- Keep by my rules — your own order of rules, over this group alone. See Keep rules.
A rule that would change nothing here — no favorite among these copies, or a selection that already matches it — is dimmed rather than hidden, so the menu reads the same every time.
Three things are always true. A rule that has nothing to go on — no favorite in the group, no import date on any copy — leaves the group alone, and a note above the footer says how many groups it left that way. When several photos satisfy the rule and they are the same photo in every way that matters — identical bytes, none edited, none a favorite — one is kept and the others go; when they differ, the group is left for you. And a rule only selects: nothing moves until you review the selection.
Across every group
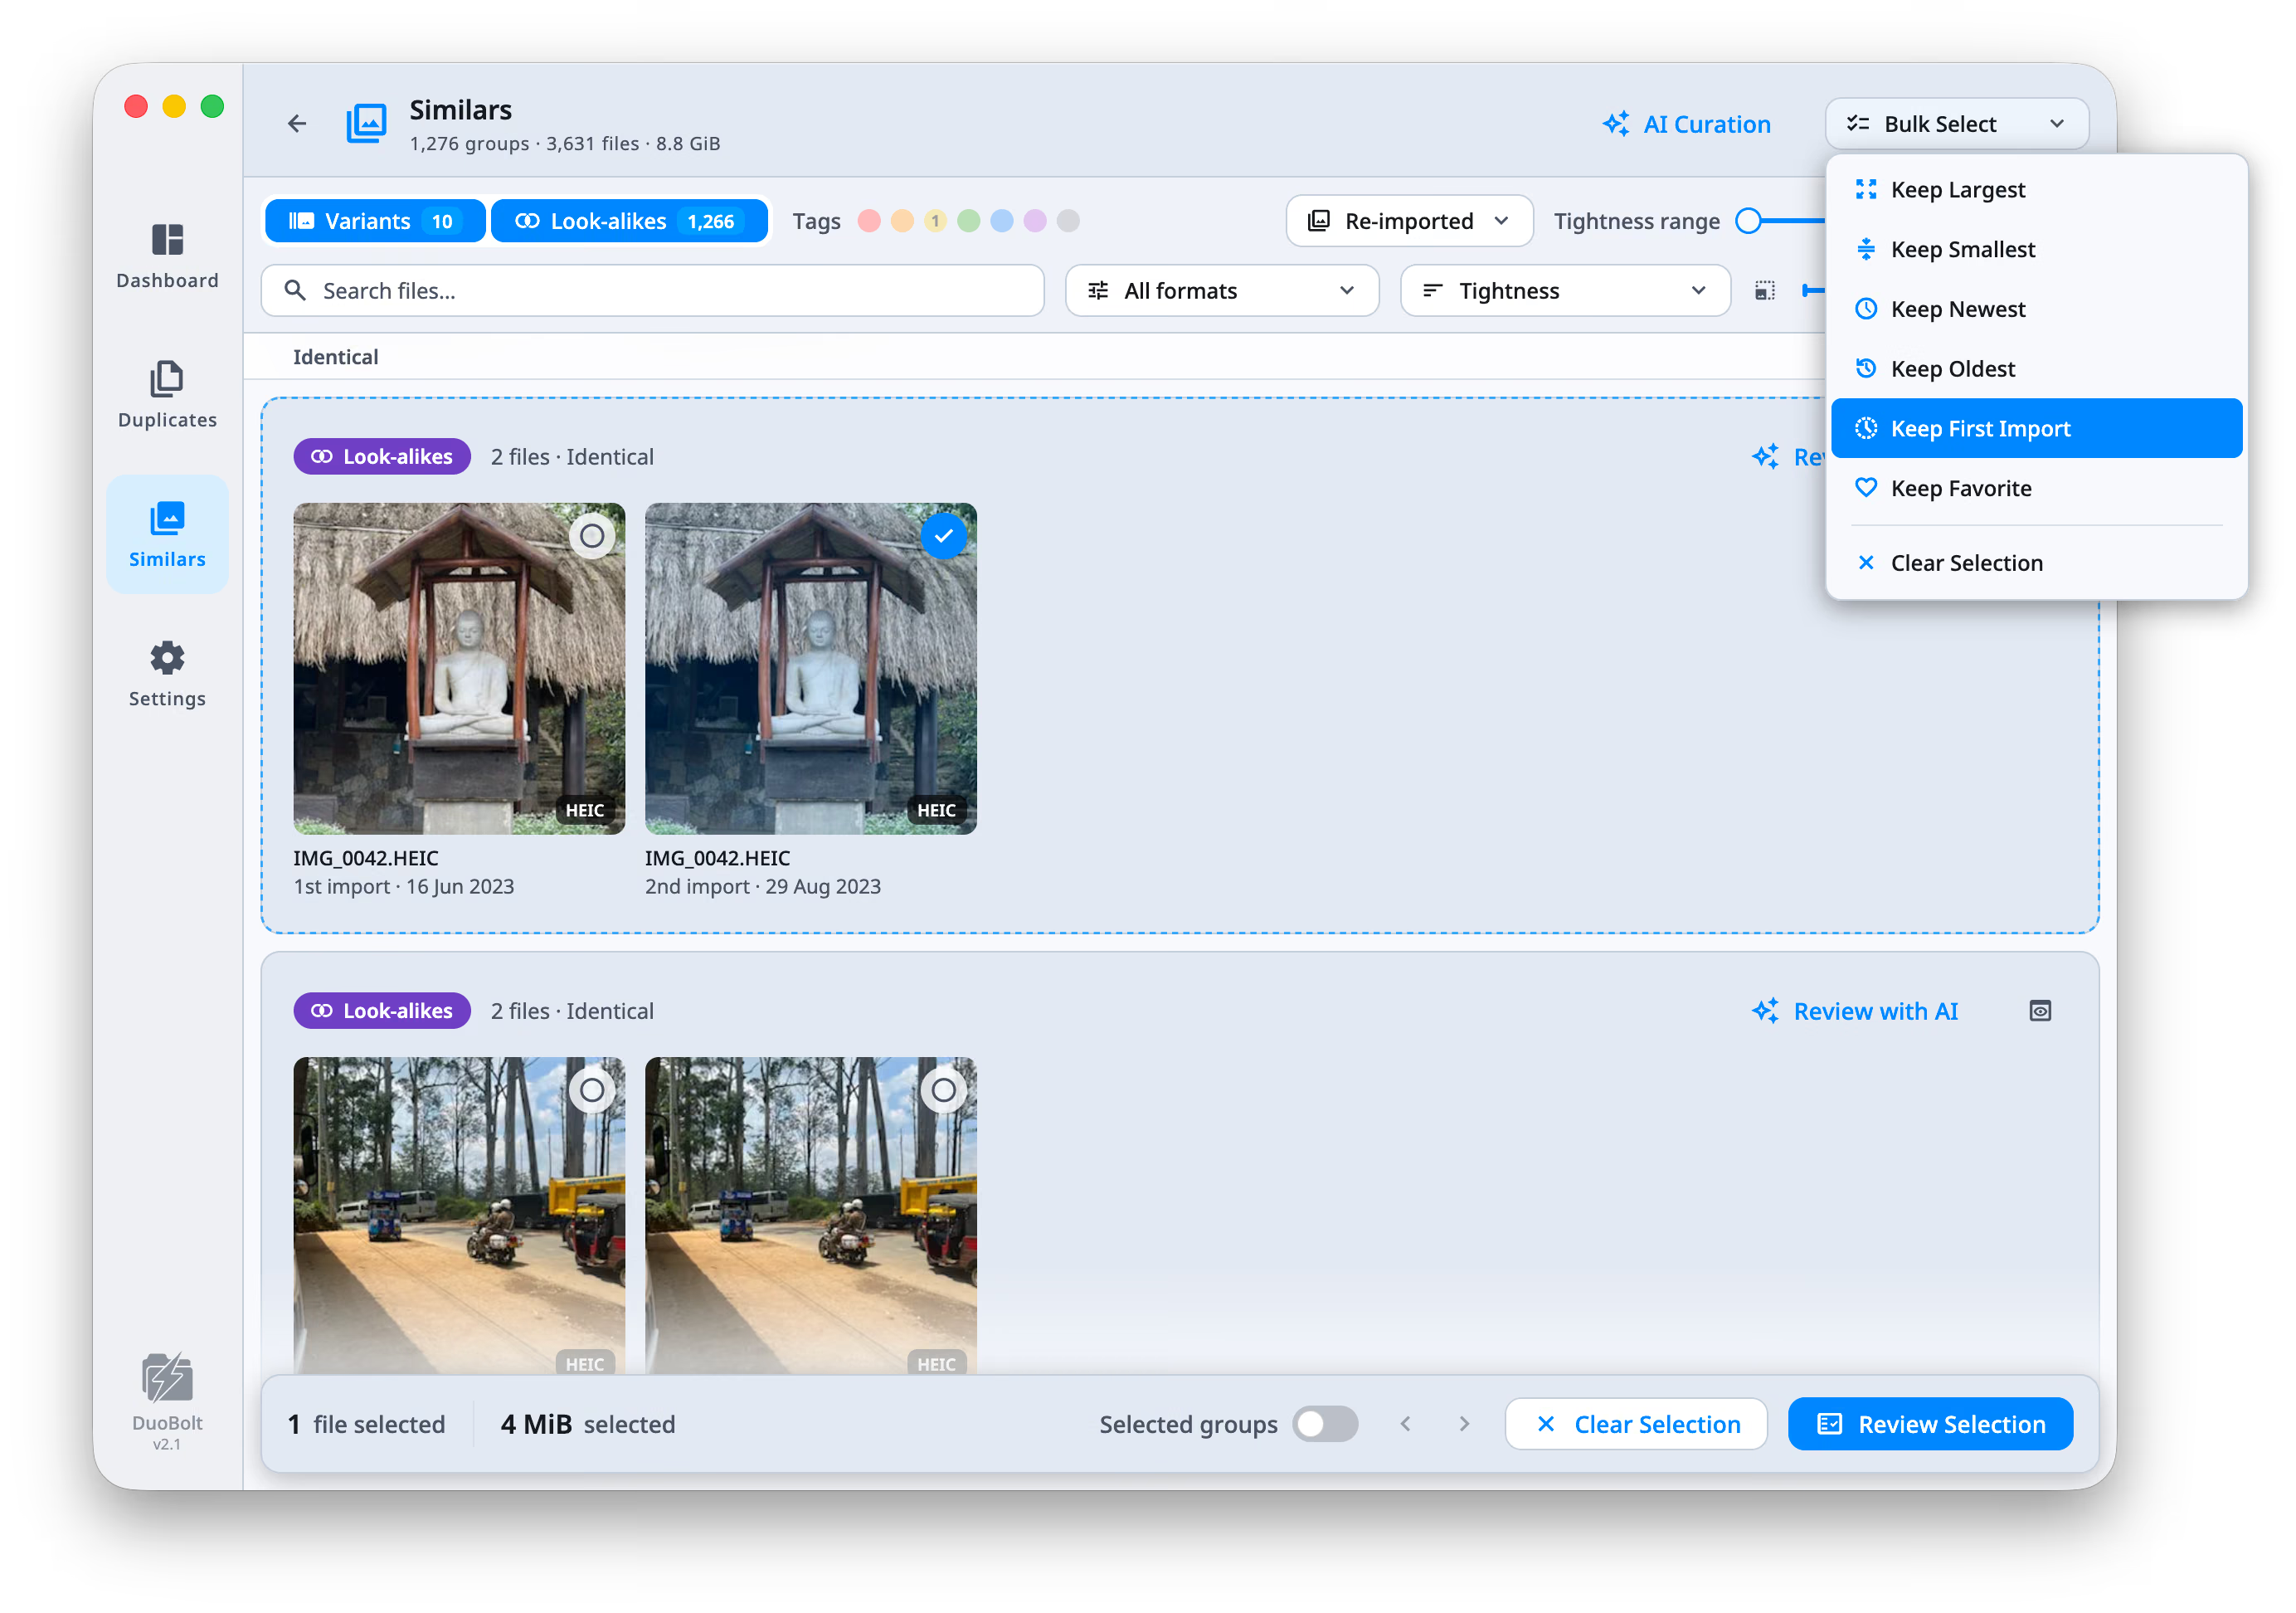
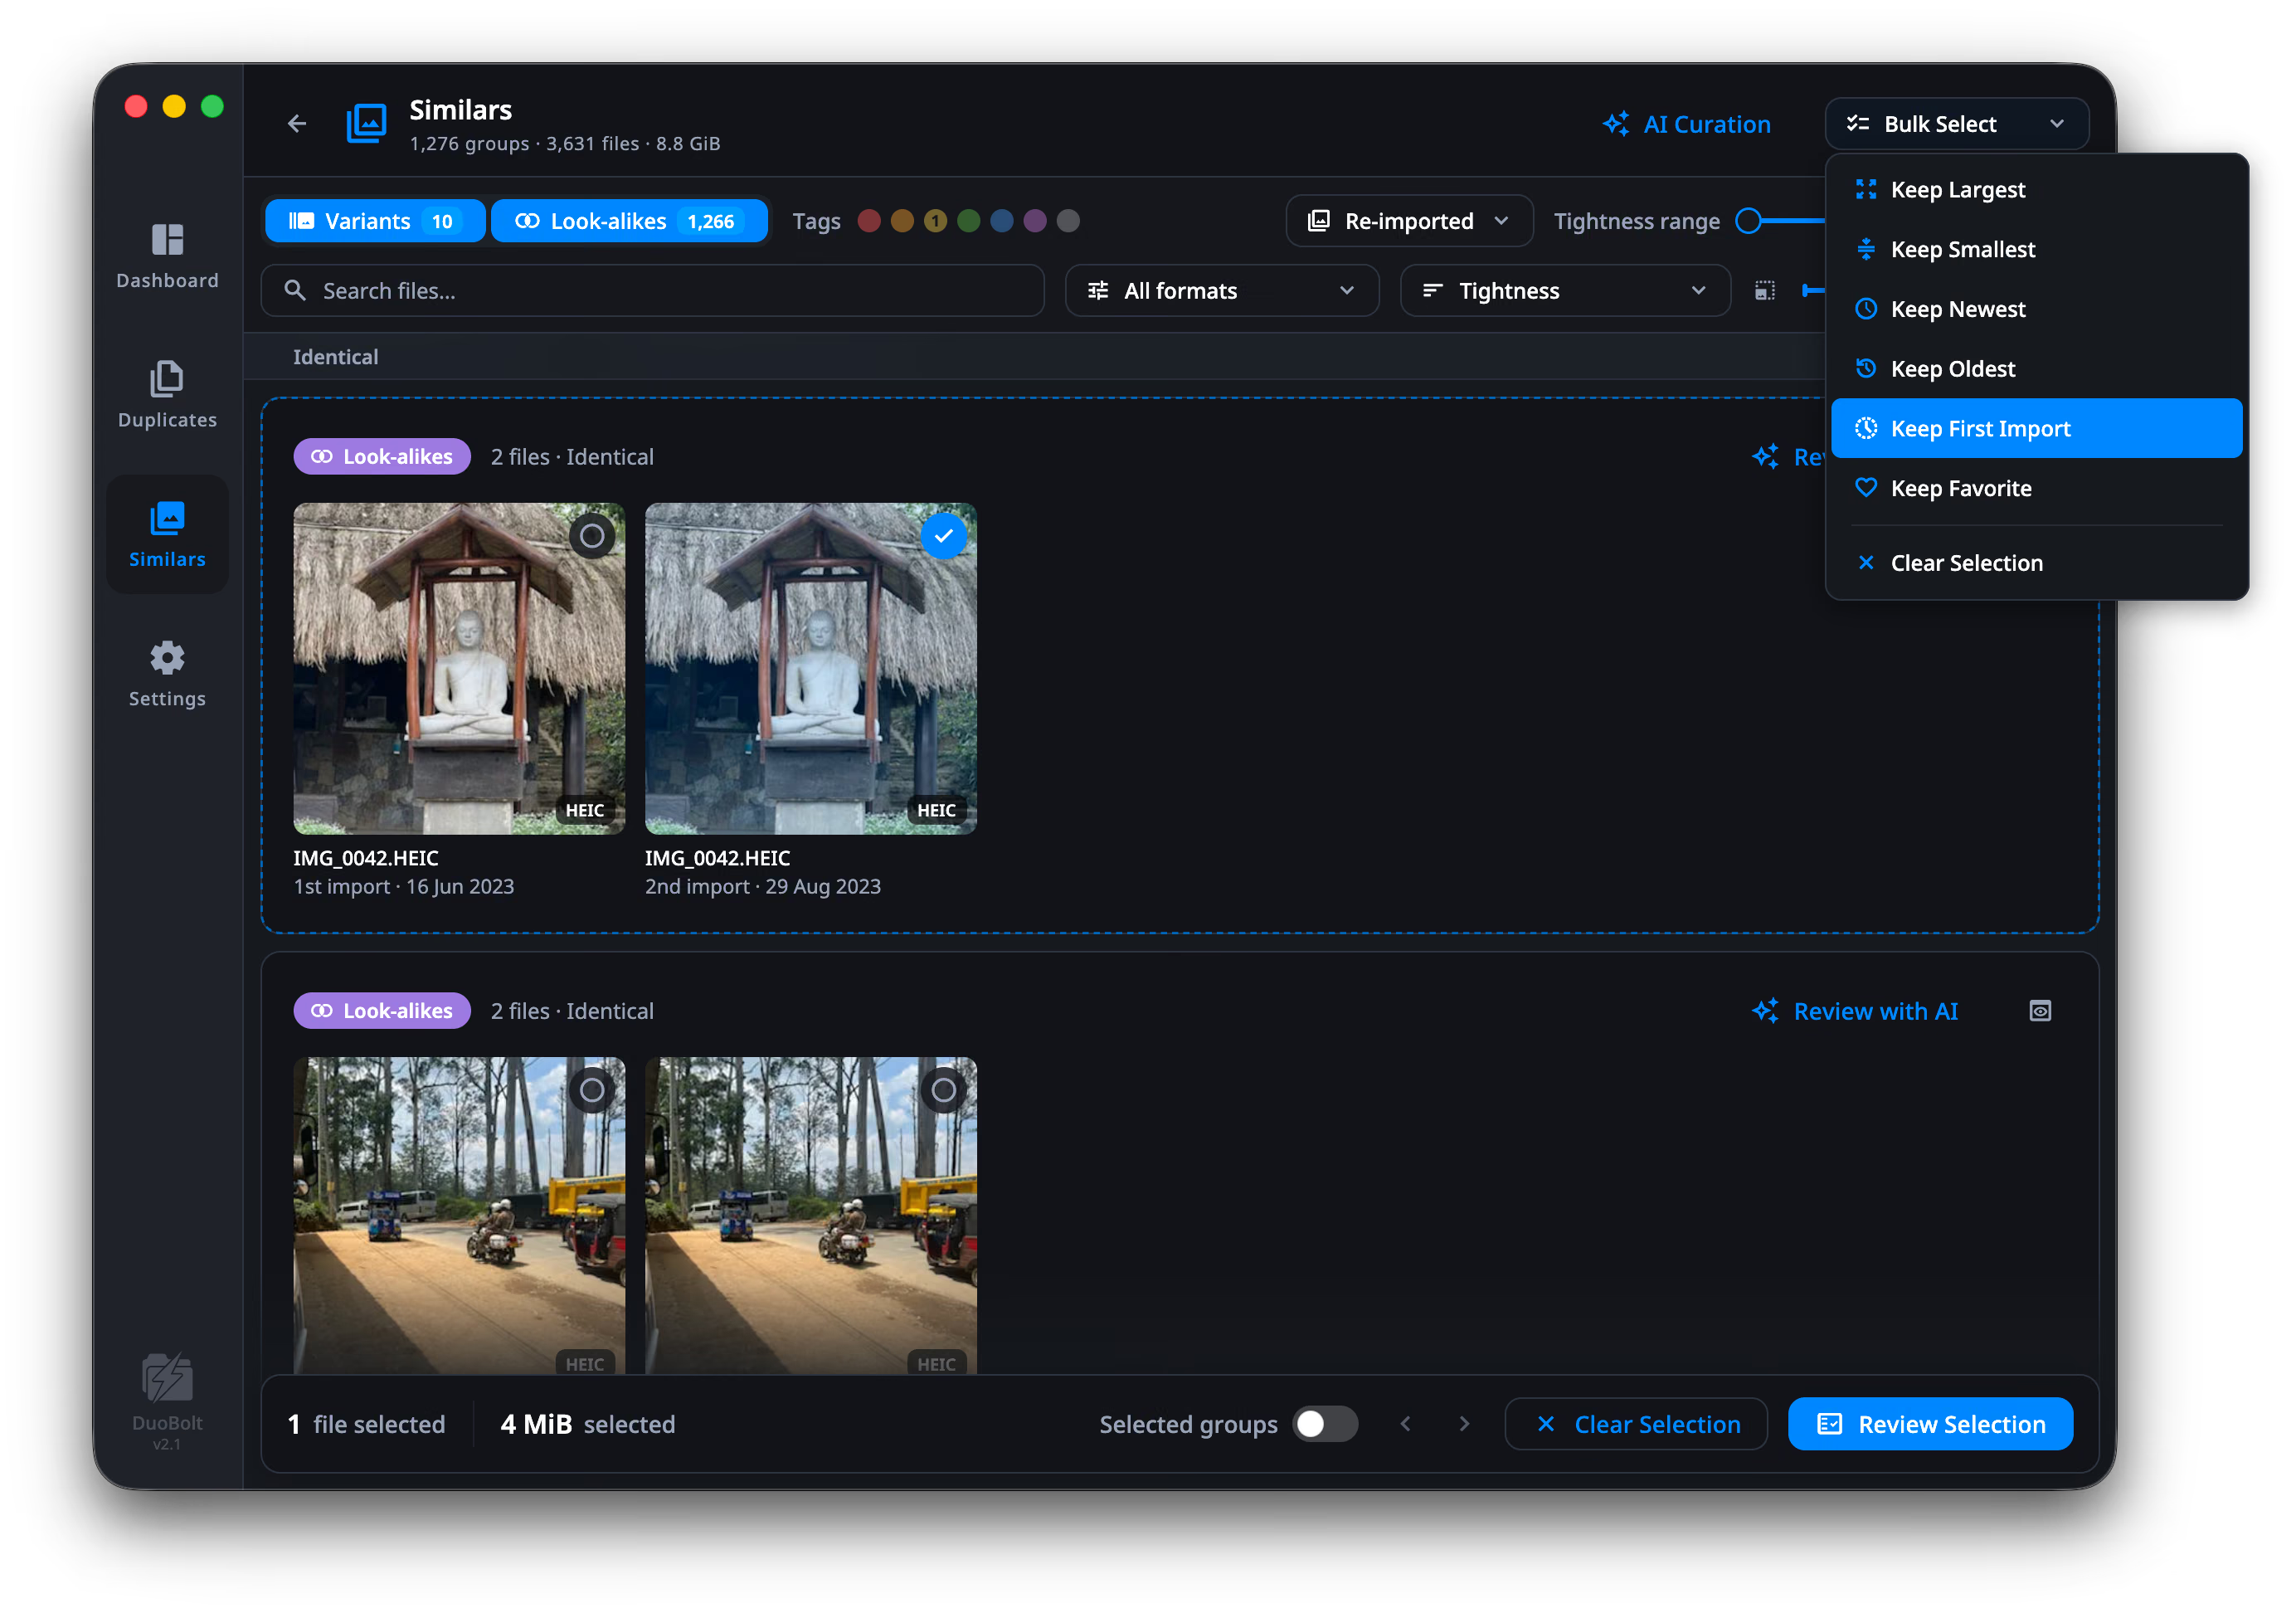
Section titled “Across every group”Bulk Select in the header runs the same rules across every group currently
visible — including Keep by my rules (⌘R, Ctrl+R on Windows), your own order from
Settings → Selection. The menu ends with Edit my rules…,
which opens Settings where they live. “Visible” means after filters: if you have narrowed to Loosely
similar, that is what it acts on.
Looking closer
Section titled “Looking closer”The inspector beside the grid (⌥+⌘+I) follows the photo under the cursor: its histogram, measured once from the original and kept, the file, the camera, lens, exposure and where it was taken, and — for a library scan — what Photos adds. Against compares it with another copy of the group in pixels, size and when each was taken.
Space opens the selected photo in Preview: arrow keys move through the group, - and + zoom, 0 fits to screen, F maximizes and Return selects without leaving.
Two copies at once, and the light in each: C puts them under a curtain you wipe across, H opens a histogram over the picture. See Comparing two photos.
A photo with more than one version — the original and its edit, or a JPEG and its RAW — carries a switch at the bottom left of the image. It opens on what the grid shows, the edit where there is one; O cycles through the versions and 1 2 3 pick one. The size in the header follows what you are looking at, and your pick carries to the next photo wherever it has that version, so a run of RAW pairs can be walked in RAW.
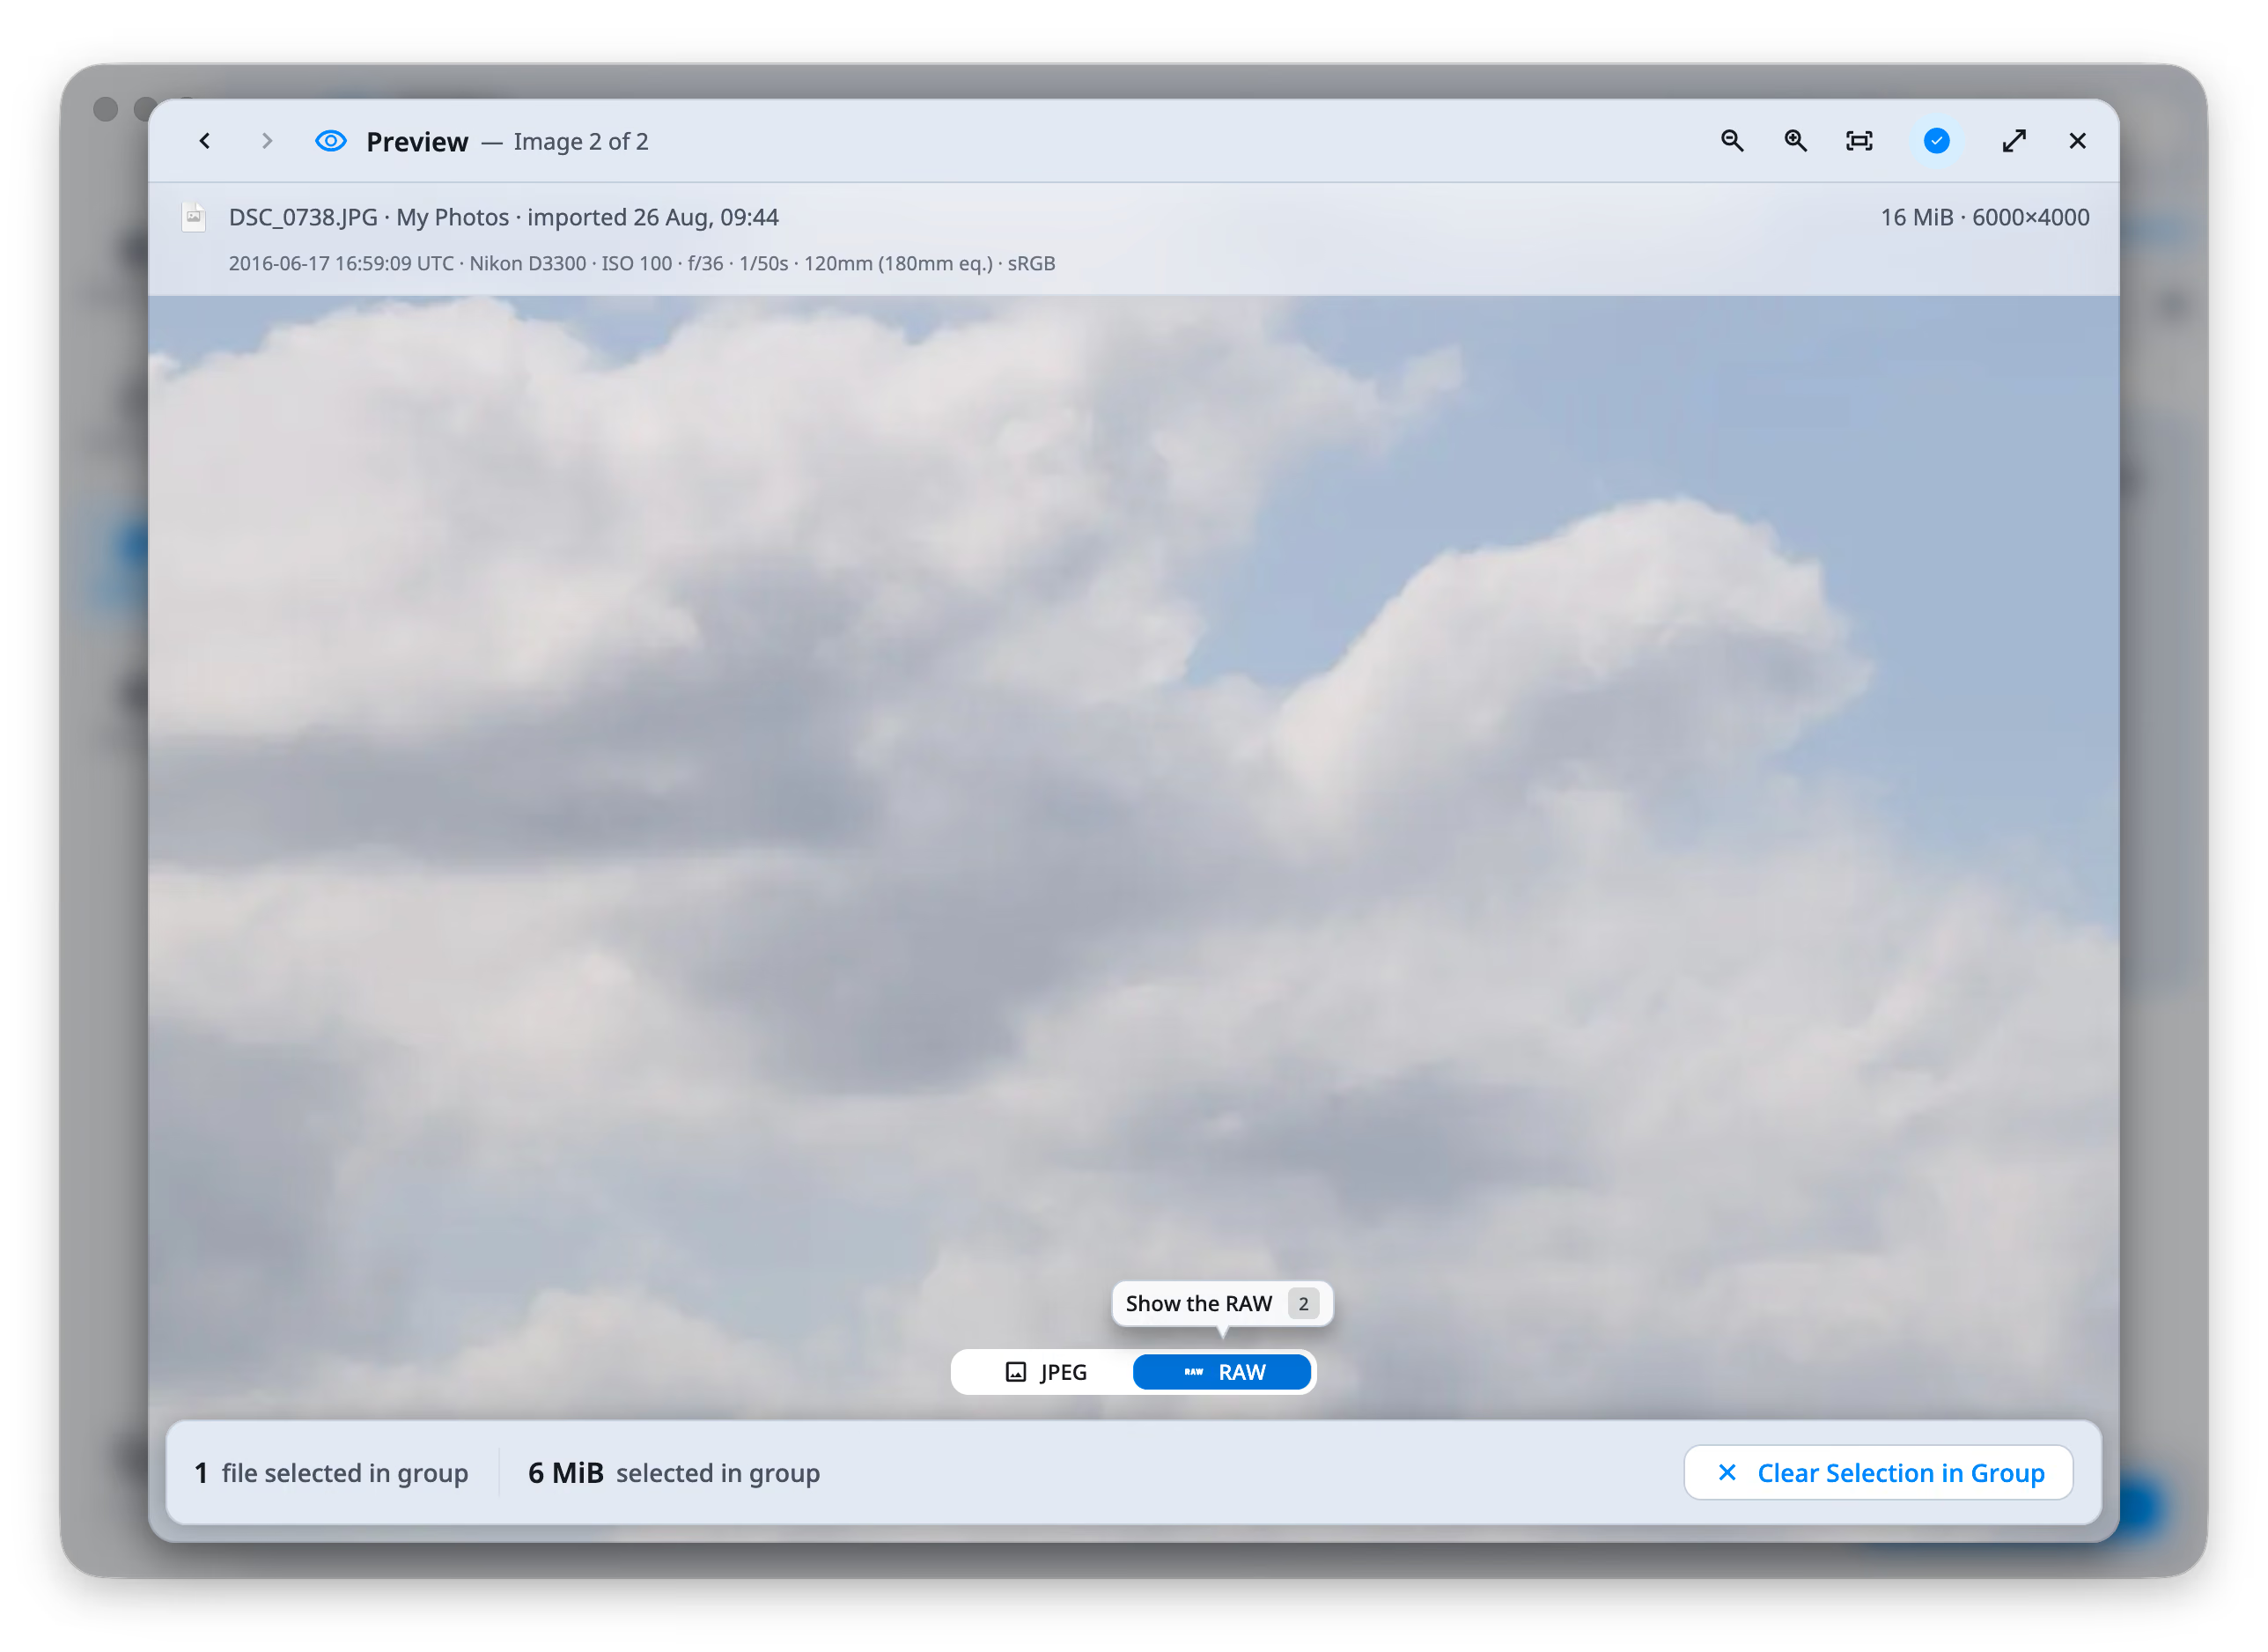
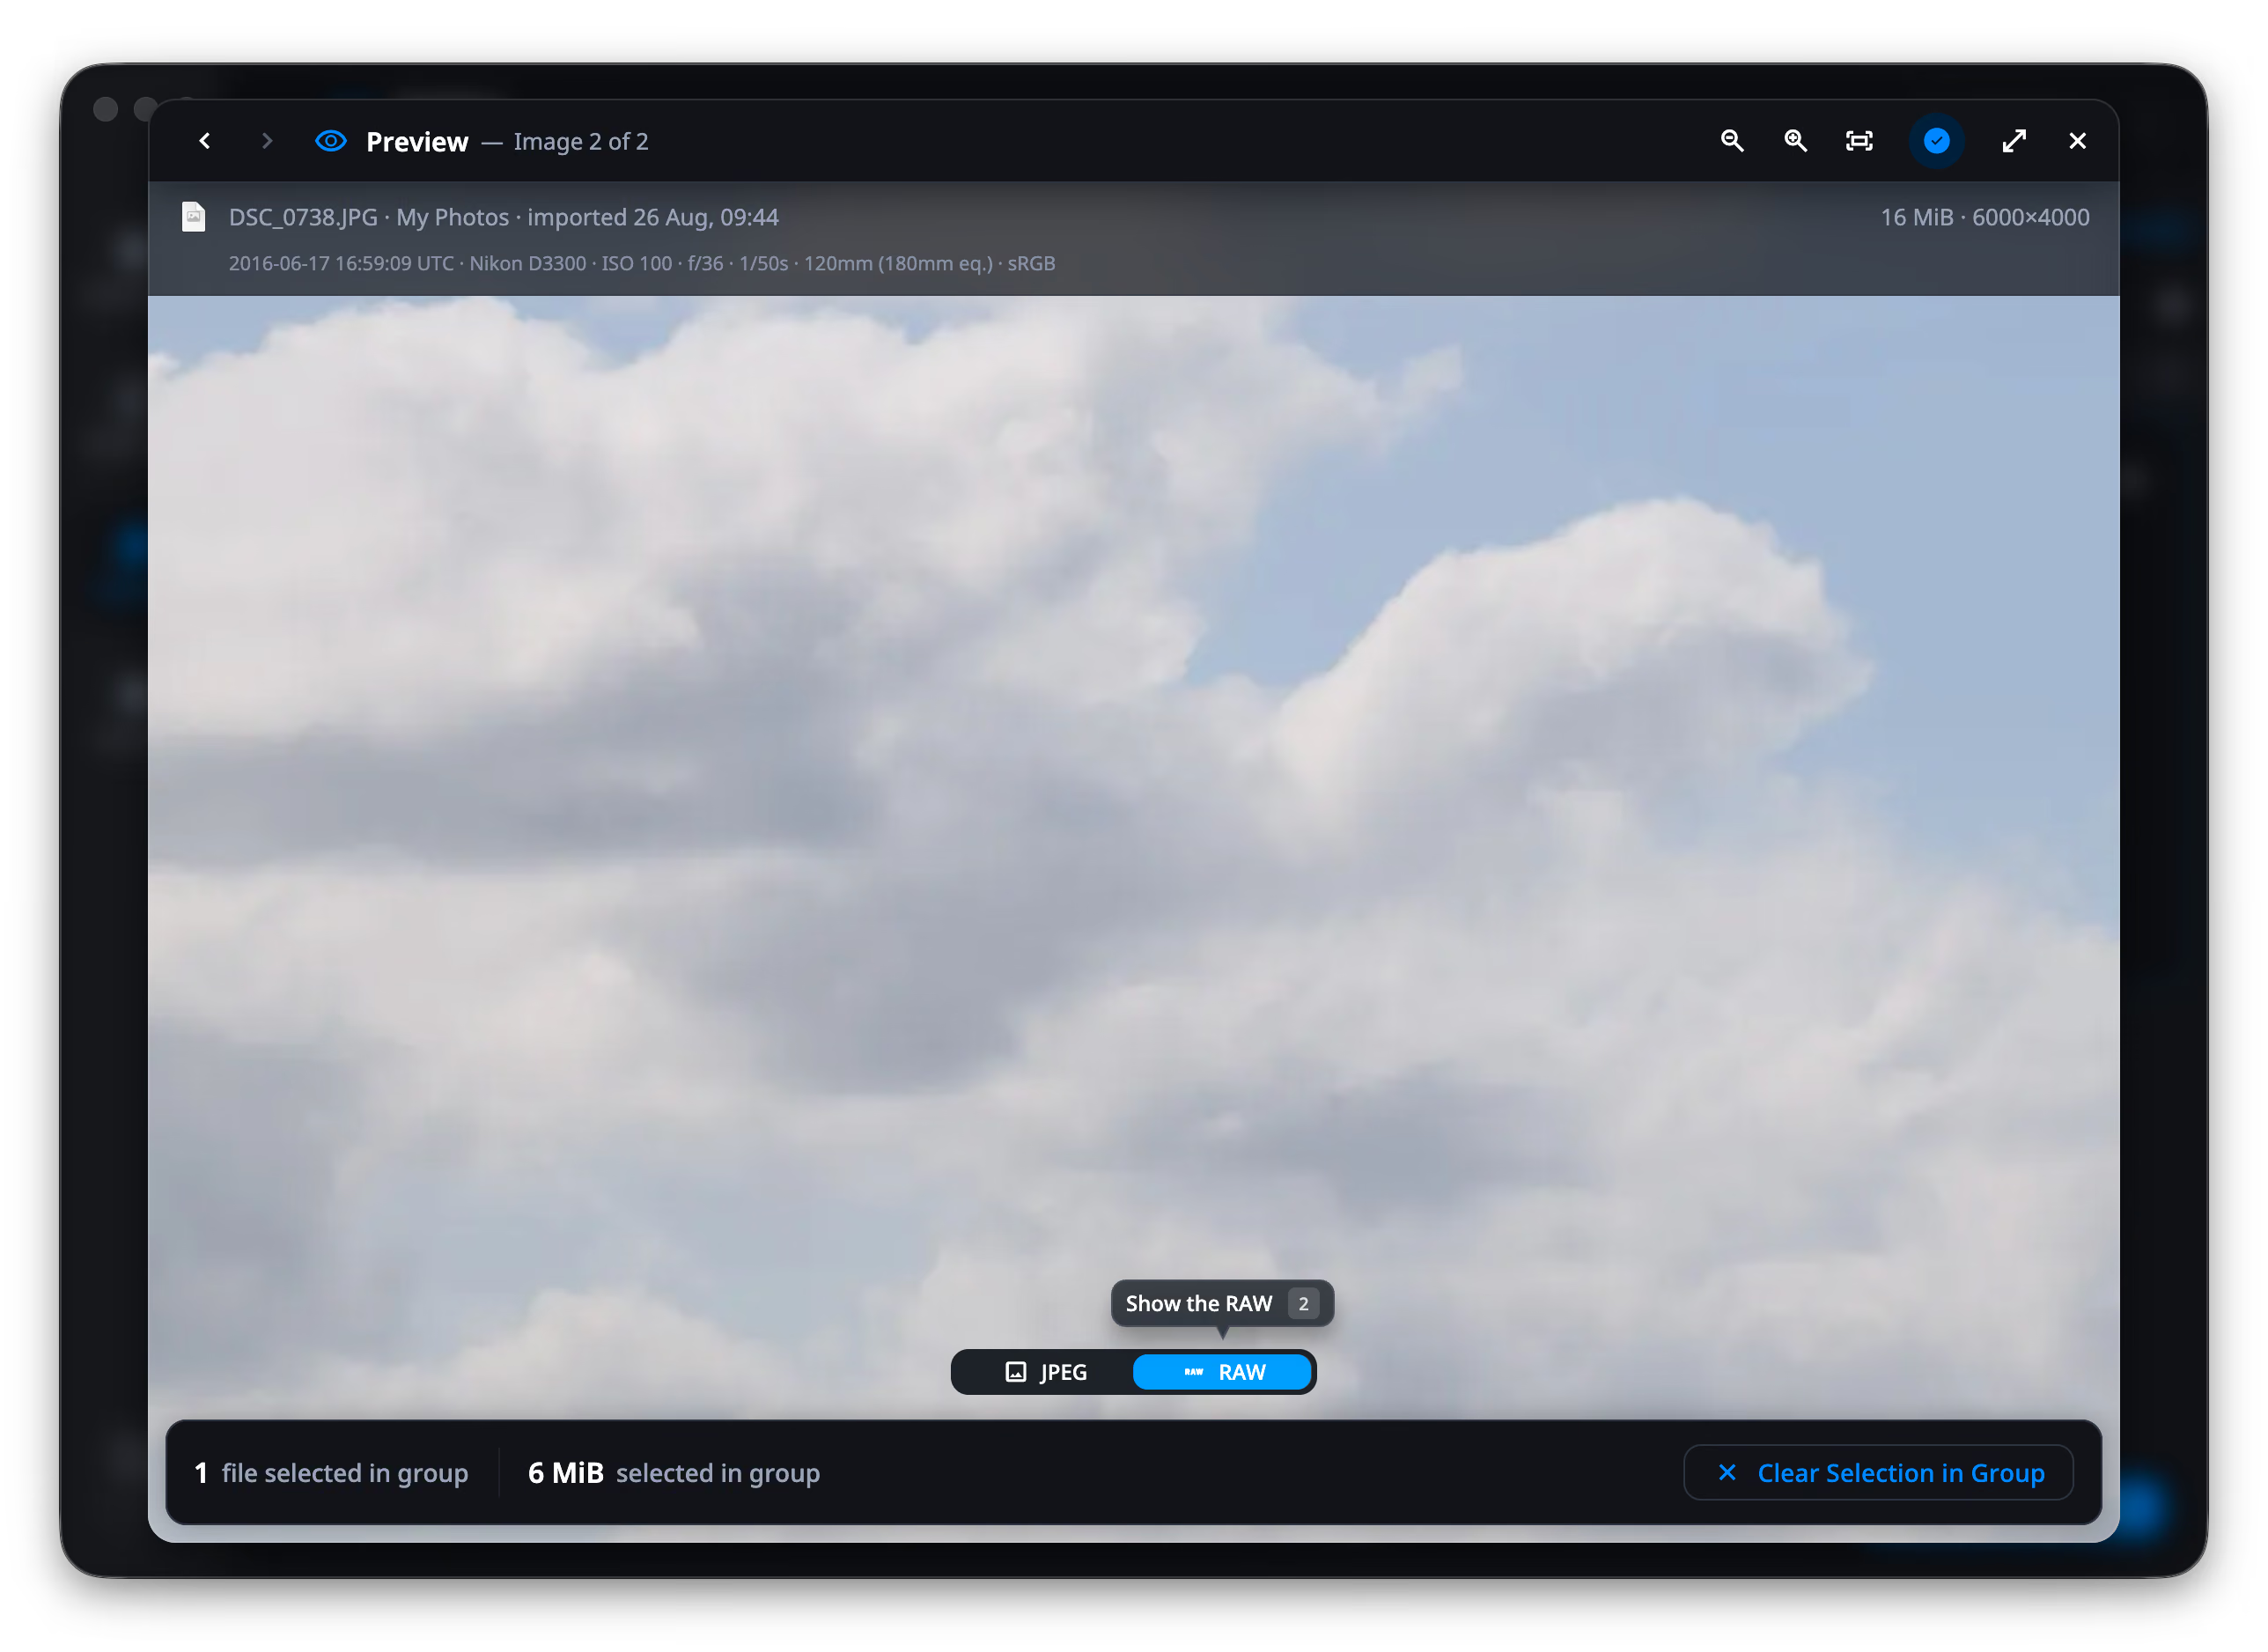
What the preview draws is decoded at full fidelity: a RAW is developed rather than read from the small JPEG inside it, and a HEIC is decoded rather than served from its embedded thumbnail. The grid uses the embedded ones, with a hundred tiles on screen; at tile size the difference does not show.
A rating left in an XMP sidecar by Lightroom, Bridge or darktable shows on the tile and in the preview, as stars or as a reject mark. DuoBolt reads it and never writes it.
Tagging instead of deciding
Section titled “Tagging instead of deciding”Right-click → Tags puts a colored mark on a photo. Tags survive between scans and can be sorted and filtered by, which makes them the tool for “I will come back to this” — rather than selecting things you are not ready to remove.
The footer
Section titled “The footer”Counts what you have marked and how much it comes to. Selected groups (G) hides everything you did not touch, which is the fastest way to audit a big selection before acting on it.
Then Review Selection — nothing leaves a folder before that screen.
On the free tier
Section titled “On the free tier”Below Pro, a scan shows its first 8 groups, whole. The end of the list says so:
12 more groups on this scan Pro shows every group — this preview covers the first 8.
Those 8 are complete groups, not a blurred preview: filters, selection, AI Curation and removal all work inside them exactly as they would with a license.